Showing posts with label ripping. Show all posts

Sunday, October 6, 2019

'The Hand' Finally Done (Bear Paw Variation)


78 x 90

Today I have some exciting news! I've finished a UFO that's been nineteen years in the making.  (Not a typo and sadly not the oldest UFO on my list!)

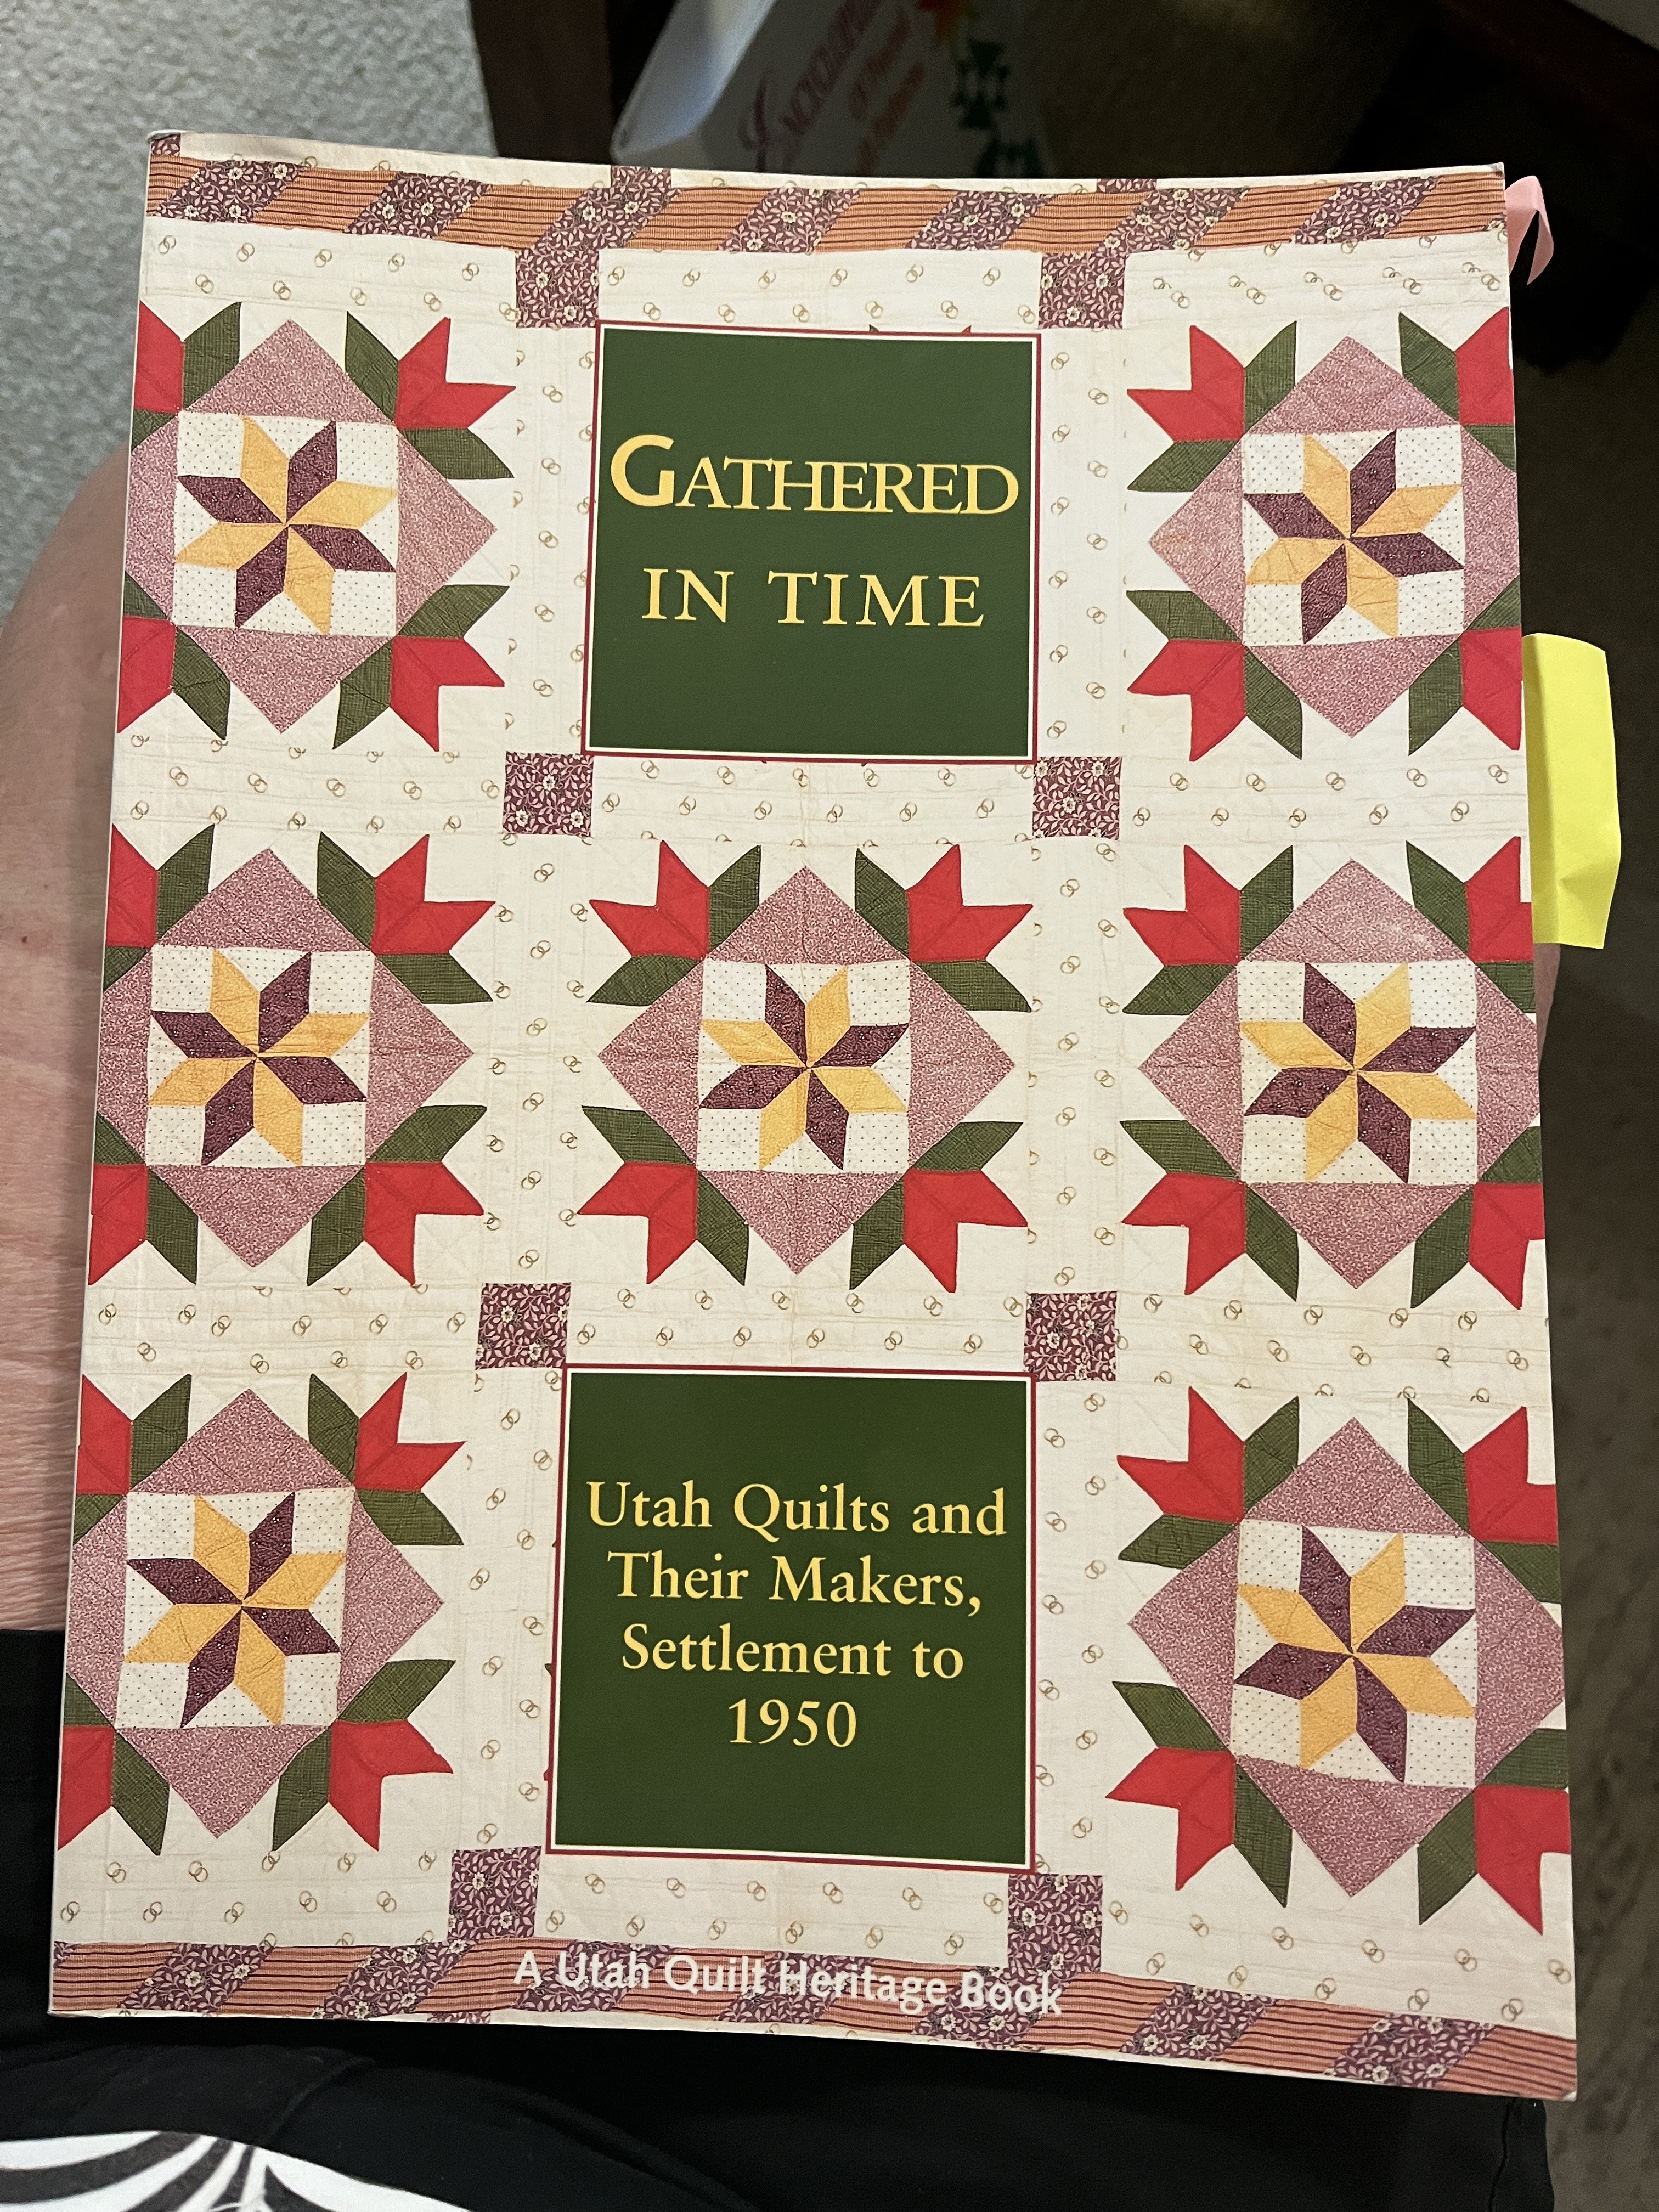
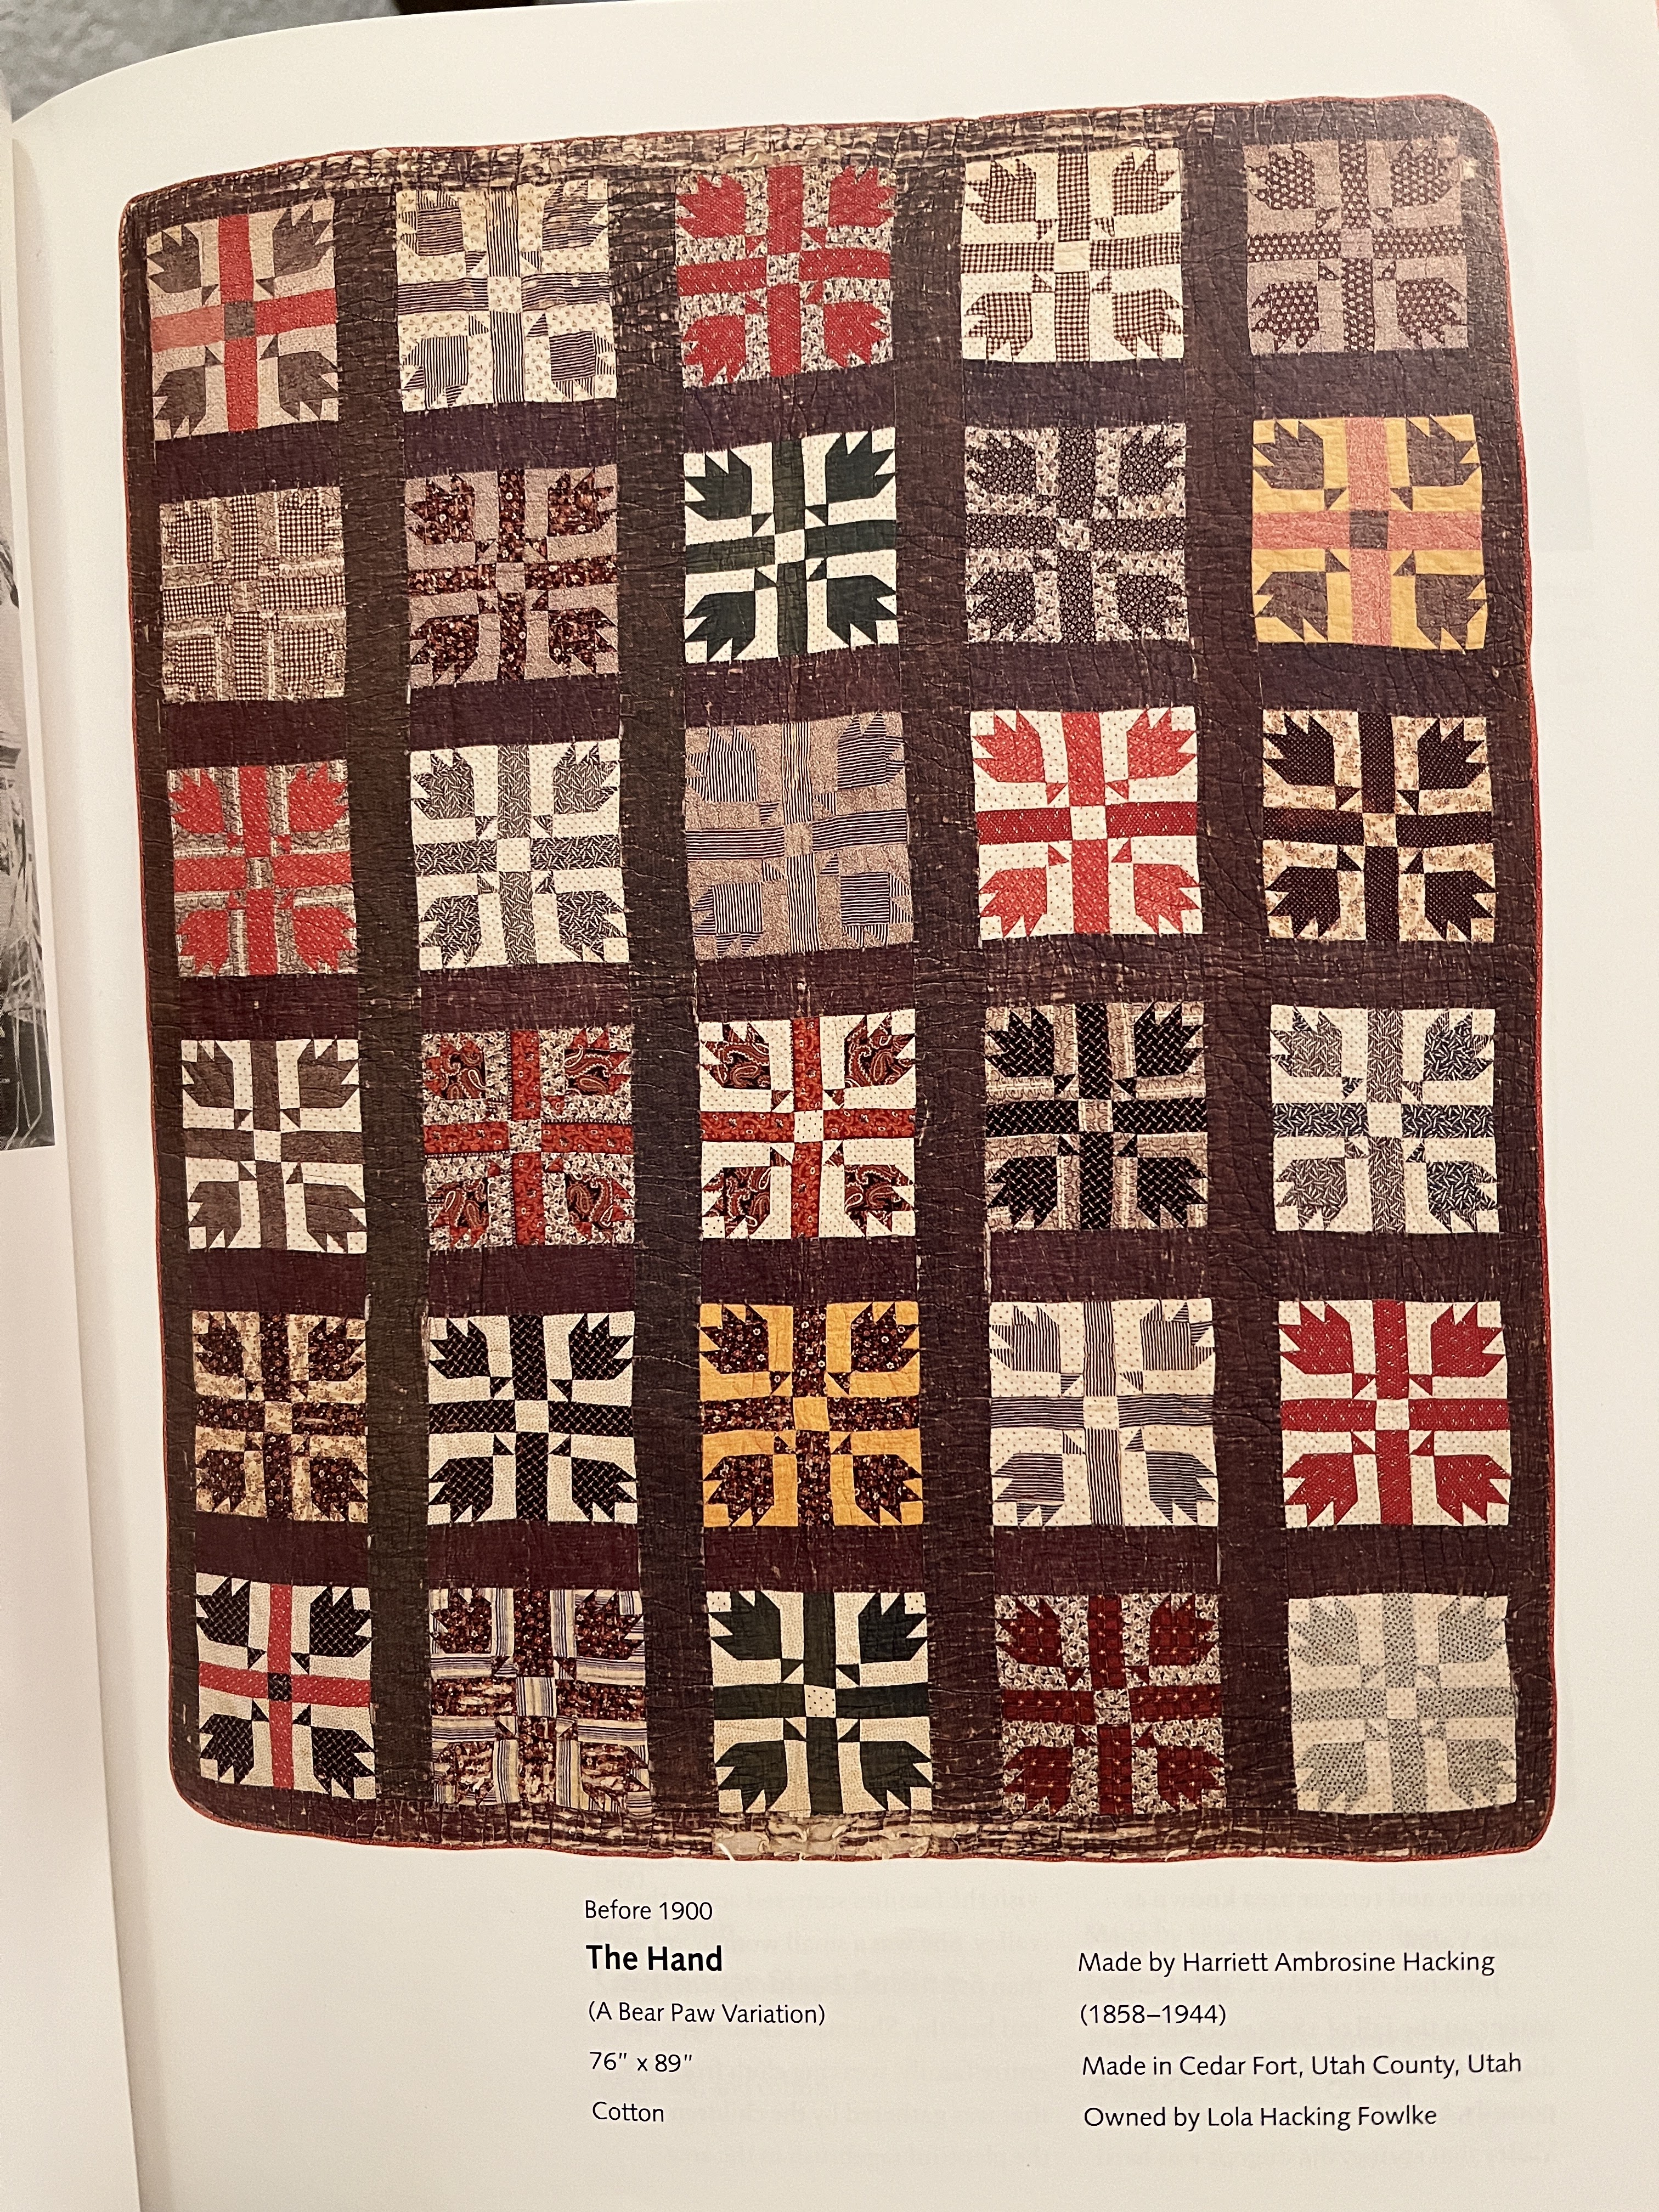
Back in 2000 I was taken with a vintage quilt in the Utah state documentation book. (p. 49)  The book called it 'The Hand'  and dated it pre-1900.

I've written a couple of blogs about this project over the years. To see the first blog written in 2012 click here.  In it you can see the vintage quilt that inspired me. I drafted the block from the photo and began making blocks borrowing color combinations (but not placement) from the original.

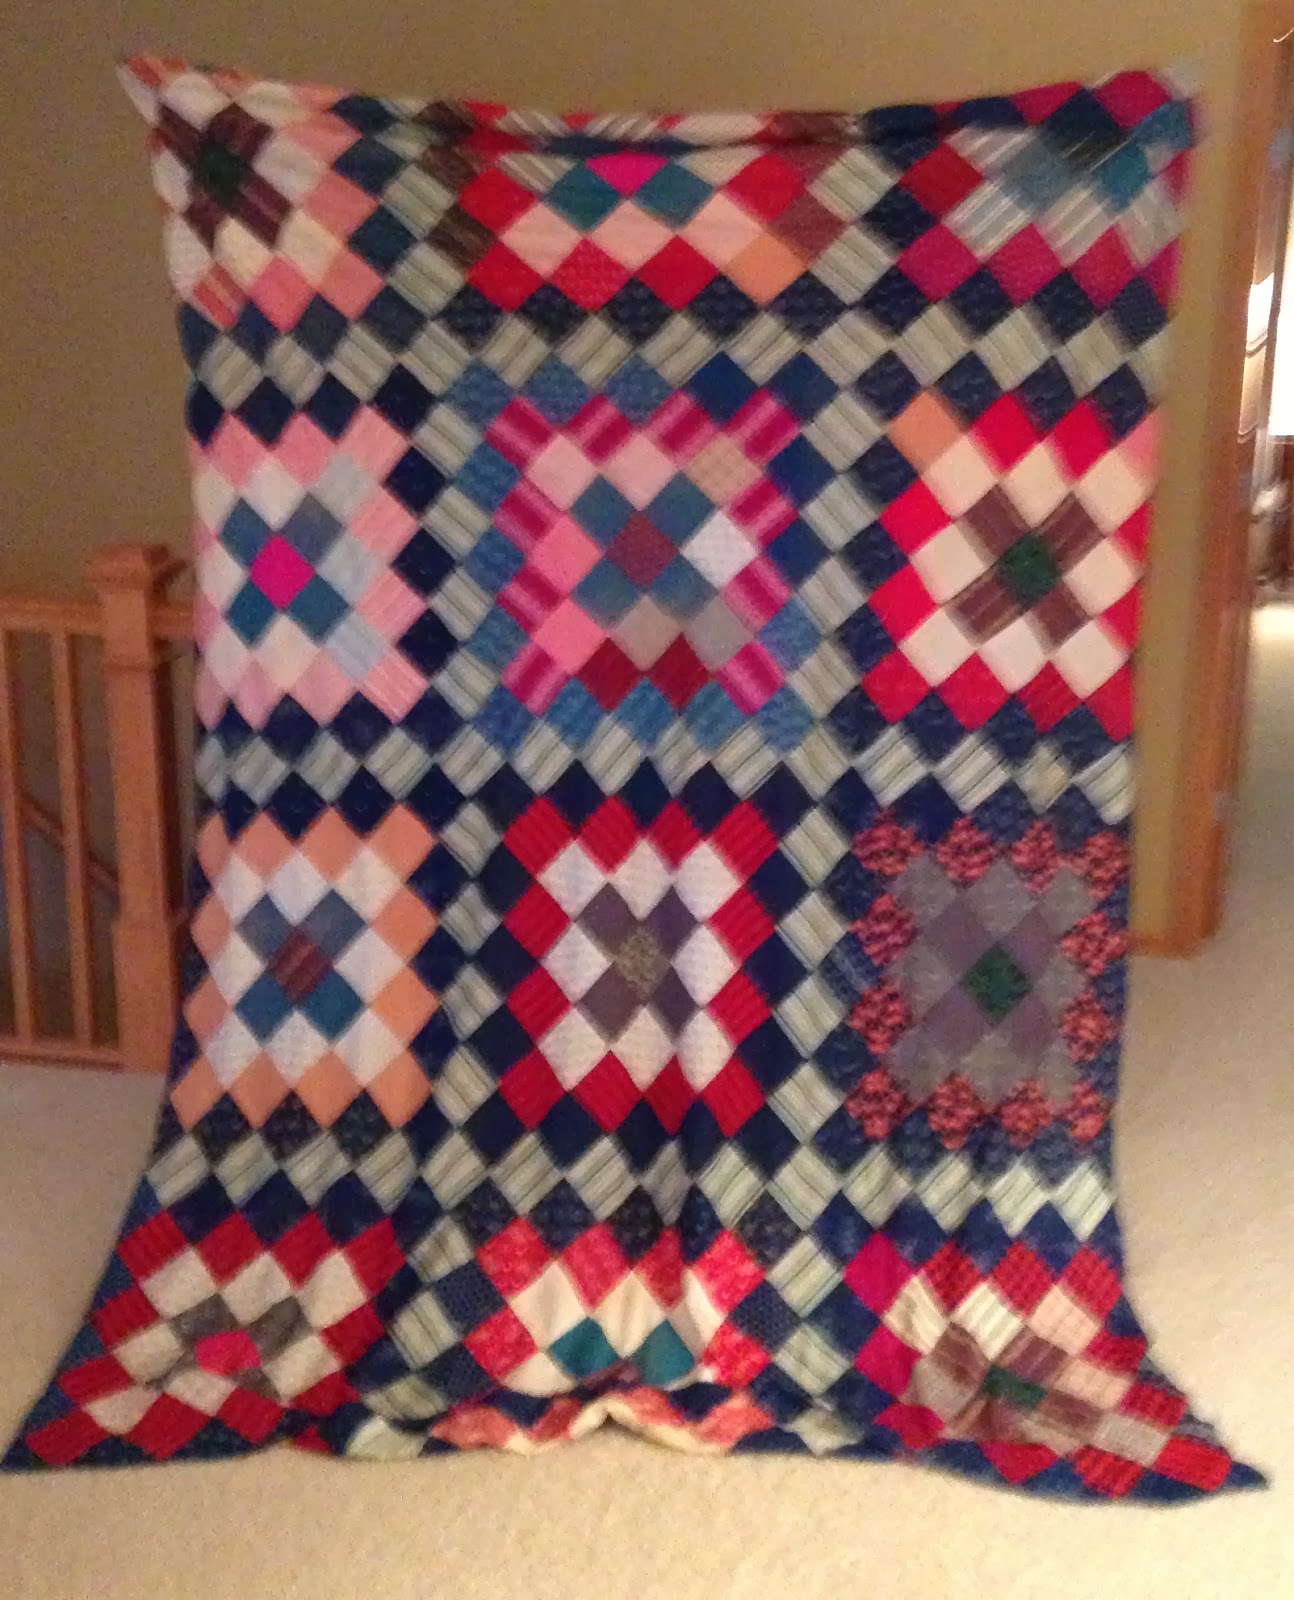
I made a few blocks now and then, it was not high on my list, but finally I decided to get the blocks done over a winter in Arizona. The sashing fabric I chose didn't work out. This updated blog in 2014, first top shows the completed top with blue sashing having black stars. I tried to like it, I really did, but I fnally realized I would have to take it apart. I ripped out the sashing and chose a brown print. It was a great relief. (If you like the blue better than the brown that's okay. I didn't, so it had to go.)

These photos show the brown print better and closer to the actual color than the full view above.
The top sat for another little while as I did other things and began to think about how I wanted to quilt it. That took time as you hand quilters will appreciate and tackling the basting needs a certain mindset.

           THE TOP                                               


                   PIN-BASTING (ala Harriet Hargrave) 


I finally decided to do alternating diagonal lines in the pieced blocks about 1" apart and a diagonal grid in the sashing, a bit smaller than 1", a classic simple approach. The border was done in a 1.75" diagonal grid.


sorry about this....not focus, bad color... but shows the quilting.


Strippy Backing

So that's why it took a number of years to finish. I hesitate to make the label....it seems to need a lot of explaining beyond "Made 2000-2019"


I wanted to  mention, too, something about size. Plan your top  4-5" larger than what you want the finished size to be; most important if you are planning it for a certain size bed.

The finished top measured 82 x 95
After quilting it measured 80 x 93
After washing it measures 78 x 90 

I always wash completed bed quilts. I like the look after washing, I like knowing it's clean, markings are gone and I like to know the finished size.  I pre-wash all fabrics when I bring them home but I tossed in a few color catchers just to be sure -  and look what they revealed!

No colors bled into surrounding lighter fabrics but the reds and browns often have excess dye even when they've been pre-washed.

BTW, I just checked the original vintage quilt in the book. It measured 76 x 89 - very close to my finished size though it started much larger.


2023 update: Here is the original inspiration from the Utah quilt book Gathered in Time . the link above does not seem to work. 


Thanks for stopping by. . .
I welcome your comments


Monday, November 4, 2013

Ripping Again!


Well, I'm back at it. I won this top at the AQSG silent auction in Charleston, SC, last month. Here's what it used to look like - it's a poor photo and from this distance it looks much better than it did in person, trust me!


It was poorly made in many ways but the squares are a nice size to do something with  (3.5" finished -give or take) and there are some great fabrics in it so....I started in.
Some people think I'm crazy. A friend watching me in wonder said, "Why don't you just cut it apart?"
That stopped me for a minute. I had never thought of that! But I went back to ripping. It just seems the right thing to do and preserves the most fabric.


Do you believe me now?
It was both hand and machine pieced and a real bear to rip out. On the hand pieced seams she took a back stitch about in the middle -common and a good idea for creating a strong seam but not fun from the ripping standpoint. On top of that she backstitched at least once at the end of each seam and when four seams come together - all backstitched -  what a nightmare.


I just have to wonder.
How could anyone think this could 'work'?
The funny thing is that in spite of all those secure seams she apparently didn't think it was important to cut each square the exact same size - OR to sew a consistent seam. Doesn't have to be 1/4" but consistent would be nice.


Have you joined the group that thinks I'm 'crazy'?
Can't blame you.
Nevertheless....


...TA DA


Done ripping.

A shoe box full sorted by color - they will be hand washed in color groups, pressed, errant threads cleaned up, re-stacked in their nice shoe box....and then the fun begins. What will I make?

I like to keep some element of the original in at least one of the resulting pieces so maybe the first one will use the Trip Around the World pattern pattern in some way.

For now, I'll put this shoe box next to the shoe box from the last top I ripped....I've made two doll quilts from that one already.

Links to the two posts about that ripping project as well as a link to ripping out some embroidered blocks and what I did with those:


Every morning, Every evening, Ain't we got fun!

Sunday, January 20, 2013

Eureka ! Mystery Children Identified!


I bought a crib sized quilt top a few years ago. I had never seen the design. It was 'interesting' ... but the border was rather strange! (ugly)
I bought it anyway.


Ouch....where's my ripper?


Today I was looking through a pile of vintage quilt pattern leaflets and there it was!
It's called Raggedy Ann and Andy. Would you have guessed that?
Blonde braids? I thought they looked German or Scandinavian (but then what IS the ethnicity of Ann and Andy?) More on that search later....
The maker tried to achieve the triangle border shown in the pattern - but her fabric choice (probably what she had on hand) doesn't really 'work' does it? She had to piece the lighter triangle and using a variety of bold plaids and stripes didn't help! (the concept of bias meant nothing to her!)

Here's the cover of the booklet.
There is no date on the publication but it is identified on the back as Aunt Martha's Studios, Inc. The business was started in Kansas City, Missouri, in the 1930's but this specific name was used starting in 1949. (In addition to information about quilt kits, the Quilt Kit Identification site includes Rose Werner's extensive research on many pattern companies) Aunt Martha published patterns through the 1950's. 

Pattern templates and directions
I love reading the directions - the boy's clothing is called overalls on the template and pantaloons in the directions for embroidery. Thread colors are suggested for the embroidery and rick rack is to be stitched at the bottom of the girl's dress. This maker outlined all applique edges with a neat small blanket-stitch in thread colors matching the fabrics. It appears that she did this to secure the raw edges of her applique. This saved her from regular needle turn applique BUT...can't be faster!
She used tiny rick-rack 'inside' the girl's dress rather than at the bottom. It doesn't show much on this print.

Click to enlarge for a closer look at the details

I have quite a few of these vintage pattern booklets. They are fun to look through...you never know what you'll find. I hope you don't toss things like this thinking they are 'old fashioned' - they are quilt history; the stuff quilt scholars love!


What is so exciting to me about quilt study is the many paths it leads me down. In this case I had to get out the top to look more closely at it and compare it to the pattern directions.Then I got curious about Raggedy Ann's hair....I have only seen her with red hair and the pattern specifies that the hair be yellow. Google Image to the rescue. That led me to more sites about the history of Ann and Andy. Click  HERE  if you also would like to read the various theories of how these dolls came to be. I found it fascinating AND I verified that all the images had red hair! By the way, the pattern does not specify a color for Andy's hair but the color in the pattern is red/orange.

Now, back to my little top - I think I need to take off that border and use some of my vintage fabrics to make a new one. Now I have the pattern! I've added it to 'the list'..... I'll let you know when I get it done. 


Don't hold your breath......


Sunday, May 8, 2011

A Rippin' Good Time - Part I "The Find"

Here’s what I’m currently doing instead of the things I should be doing. Ripping. I got this top recently and it just made me smile for a number of reasons.  One, and this is important, it is loaded with fabrics from my current favorite time period; the turn of the 20th century  c.1890-1915. There are tons of indigo and cadet blue prints, shirtings, stripes, plaids and chambrays with a few blacks and clarets (burgundy) thrown in. Two, the price was right (also important). And three, being just a top I could easily examine the construction at which point the smile graduated to a quiet giggle.

 It appears to have been pieced by hand originally, at least in part, with what I would describe as string.  
This close-up shows regular sewing thread on the left.
Then someone with a sewing machine ---Hallejulah!- (albeit one with a tension problem) must have thought securing it would be wise so……….. whirrrrrrrr. Off she zipped – in the vicinity, at least, of the existing hand-pieced seamlines.


 A closer look at the accuracy of cutting the rectangles reveals a casual approach – a refreshing lack of concern for perfection. Seam allowances? She did NOT have a quarter inch foot – and what's more....she didn’t care! They range from non-existent to ¾”. Perfection is just boring, anyway.  


This is the only hole but numerous additional problems can be seen which may explain the top never becoming a bona fide quilt!  


When the pieces you are trying to sew togegther are not the same size, the clever seamstress just takes a tuck and honestly, there really is less bulk when the seams don't come together at the same in the same intersection.

At any rate, this is a quilt top I can love. I get very excited about ripping. This one presents a real challenge, however, with at least two rows of stitching; one of thread the thickness of wrapping string and the other by machine at 20 stitches per inch! But I'm ready to have some fun with this top. I have taken a three row section off of one end which will make it easier to work with. 

Let the ripping begin!

Coming soon: Part II  " The Process"