Friday, September 30, 2011

Tumbler Top

My little Tumbler top is done!
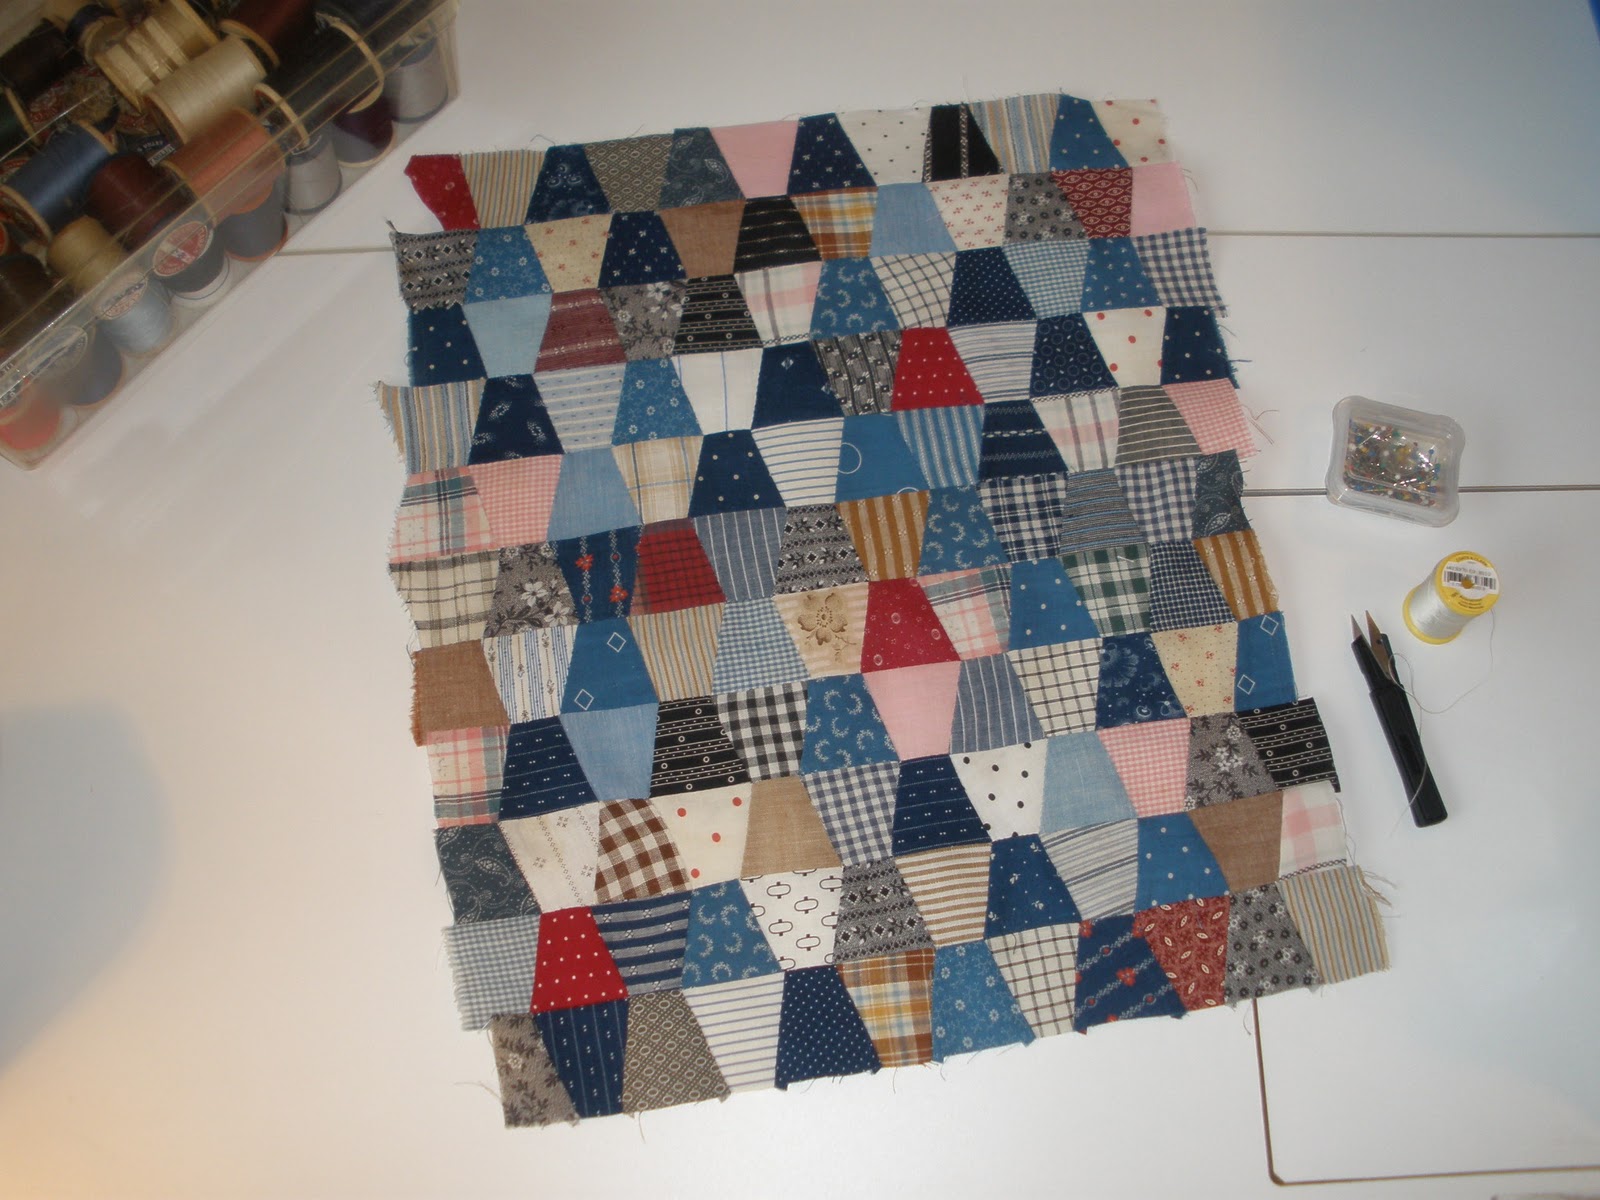
I guess I hadn't trimmed the long edges before I shot this photo.....but quite soon I will show you the completed doll quilt.
I took it along to the AQSG seminar in New Jersey last week and got about halfway through the hand quilting in 'found' moments...it's one of the really nice things about working in this size!

Here's a look at the back side. I do love how nicely the seams work with hand piecing.


And the pressing.....this is my nifty little vintage GE travel iron. You screw the little plastic water bottle onto the side when you want steam. I got this at an antique shop very inexpensively and have seen them quite often. It's a nice size to have on my small pressing pad near the machine. I use a hand towel over the surface of the pad when pressing tops or applique blocks for a nice flat finish.

While I'm thinking of it I must respond publicly to the comment/question my non-quilting friend posted about my Bull's Eye quilt post. She said, "Is this a historic thing? Would all the pioneer women sit around and spend time putting circles together, cutting them apart, and putting them back together??
Dearest friend I love your input and I love knowing that a non-quilter (though a friend of over 50 years!) - is interested in my ramblings.

I would say no, of course, to your specific question. But you are not alone in being curious about why quilters cut fabric into small pieces only to sew it back together again in some form or fashion.
Quilting has evolved as have other arts and crafts over time. Today's quilters have many more options and resources. The scope is broadened as the artistic aspects of the art join the desire to make useful bedcovers. People who love textiles can't stop exploring new and exciting ways to be creative within their medium.

One of the research papers just presented at the AQSG seminar included a quote from sociologist Marybeth C. Stalp. She may provide some insight,  "...it is non-quilters who admire and focus solely or primarily on the product - the finished quilt - while quilters give far more emphasis to the process of quilting. The production of a quilt is often as important as, or even more important than, the finished quilt itself." (Uncoverings 2011 p.98)

Most of us have made all the quilts we NEED. The joy can be in the 'doing' - the many components of the process from design to trying new techniques - that gives us pleasure separate from the end product. Maybe that's why some of us can never get enough and why we can't always answer the question "Who is this for?" or "Haven't you made enough quilts?"

Quilters, currently for you.....
  Process or Product ?
Please share your thoughts by clicking Post a Comment below this post


Monday, September 19, 2011

News Flash! Bull's Eye Done at Last!


53" x 69"
I promised to share my latest completed project and here it is!

Started in 2002 with a small group of quilting friends, it involved sewing three sizes of raw-edged circles onto a background square, making enough blocks for everyone in the group. After sharing them with each other they were cut into quarters and sewn back together again. I bet some of you have made the same pattern!

I sewed the blocks together right away - but didn't assemble and add borders until 2009. Don't ask!
I knew I wasn't going to hand quilt it and not being confident about my machine quilting it got pushed to the bottom of my very long UFO list.

I finally decided it was time to 'JUST DO IT'.
Does that Nike slogan ever motivate you?


First I did a wavy stitch in a grid along the seamlines using the walking foot on my Bernina 1230....
(Stitch # 3 set at 2.5 and 2.5)

It's a zig-zag in which three stitches are taken for each zig so when you manipulate the stitch length and width you can achieve this nice wave. You can play with the setting to get it more or less waved.


Add caption


Then I did free motion wavy lines within the cirles and one row around the whole circle in the background.
I must say, by the time I finished I had really improved my skills in free-motion quilting.


The back is a pieced strippy making reversible quilt!


Is than an old Jinny Beyer print? :)

I used a large plaid on the bias for the binding.

Finally..... the fun stage!!
I popped it into the washing machine on a brief cycle of low agitation, spun and drained and into the dryer to shrink a bit and fluff out those raw edges. That's the whole appeal of it to me - the scrappy casual fluff! A quick 'trim' of the ravels and voila...ready for use in the family room.
It feels so good to have it done and I really like how it turned out. Why did I wait so long?

Have you finished a nagging UFO lately?

Thursday, September 15, 2011

Can You Hear Me Now? A Quick Plea

I'm a bit lonely -- I haven't seen many visitors or comments on my last posts.
If you read and enjoy my blog I'd love for you to join - no cost/no obligation.... just click the blue box that says Join this Site over on the right above the lovely folks who have already joined!  You can be anonymous if you wish.
I'd love to get comments, too. I need to know someone is 'out there'. :)
I admit I haven't had time lately to keep up on reading the many posts I enjoy so I do understand! It's a busy time of year..


It definitely feels like Fall in Minnesota so it's time for a switch in the wall decorations. Here's a piece I did several years ago.


I am happy to report that I just finished a quilt I started nearly ten years ago...yes it's true. I can hardly believe it myself. I love crossing things off!


I'm off to appraise a show in Eau Claire,Wisconsin tomorrow so I don't have time to get a 'real' post ready to go but next week...I promise to share my decade quilt and an update on my little Tumbler doll quilt. It's really cute!


Til then, happy quilting.....

Saturday, September 3, 2011

Yo Yos - From Toys to Textiles

3.5" diameter

In my quest to try every technique known to the art and craft of quilting I recently got enthused about yo-yos - the textile; not the toy...and yet..... I did prize the toy enough as a young girl to have saved a  very special one over all these many years!

When I was a kid my family took the train from Minnesota to California for a vacation. It was a very big deal, believe me! This was my souvenir from China Town in San Francisco.

As an appraiser I've seen quite a lot of examples of yo-yo coverlets. Technically, of course, these textiles are not truly quilts - the usual definition being three layers; a top, fill (or batt) and backing - all held together with quilting stitches.
I searched for examples to study before I started to make my own. Most seem to use a variety of fabrics in a random setting but there are some notable exceptions!

This maker showed her patriotism to the extreme. She used rayon fabrics and even added a border! She chose to stabilize it by backing it with two layers of taffeta. We can see a pink background under the yo-yo's ............
.........but the back is white taffeta. She used pink yarn to tack the layers together, catching only the back so it is invisible from the front. She even applied binding.
Very unusual treatment!

This one can be seen in the book Florida Quilts by Charlotte Allen Williams. Made by Wilma Friedel Ward in Gainesville, Florida in 1949, she calls it "Powder Puff".
60" x 75"   Cotton

Another example - a six pointed star outlined in green.


And a very small-scale example in a block format. Here the maker sewed all the way along each side of the circle -- turning the circle into a square!


How very cool but....I quickly decided that this level of artistry was not necessary for me to experience the 'technique'.
Most instructions I found were very basic:

  • Make a circle (2 inches plus 1/4" larger than your desired finished side)
  • Turn under the edge
  • Baste, gather and tie off. 

I wanted my finished circle to be about 1". One template in my set of plastic circles was just right. I chose some 30's repro fabrics from my stash along with a few solids.
I traced, I cut, I starting turning and sewing, gathering and knotting...but mine didn't look very nice.

What was I doing wrong?


I found more details in an old quilt magazine and tried basting closer to the folded edge. I used longer and more even stitches. That helped. I ripped out a few bad ones and watched them improve.


I played with various arrangements of color.... but I kept going back to the simple random look.


Here's my little project...... It's DONE!

13" x 18" 


My simple version doesn't compare to the more elaborate examples but by trying different techniques on smaller pieces I always learn new skills and gain a deeper understanding of the various design and construction processes.
When I see another yo-yo I will 'understand' and appreciate it all the more!

P.S.
While working on this post I noticed that a doll given to me some years ago had a yo-yo trimmed slip!


Enjoy the links below for more history of both Yo-yo textiles and the toys which some believe influenced their popularity:


Did you know??
 The yo-yo is considered the 2nd oldest toy in history having been around over 2,000 years!?  (beat out only by the doll)

What is the oldest yo-yo coverlet example you have seen?

Have you  ever made one?
 If so, please share!