Showing posts with label hand quilted. Show all posts

Sunday, October 6, 2019

'The Hand' Finally Done (Bear Paw Variation)


78 x 90

Today I have some exciting news! I've finished a UFO that's been nineteen years in the making.  (Not a typo and sadly not the oldest UFO on my list!)

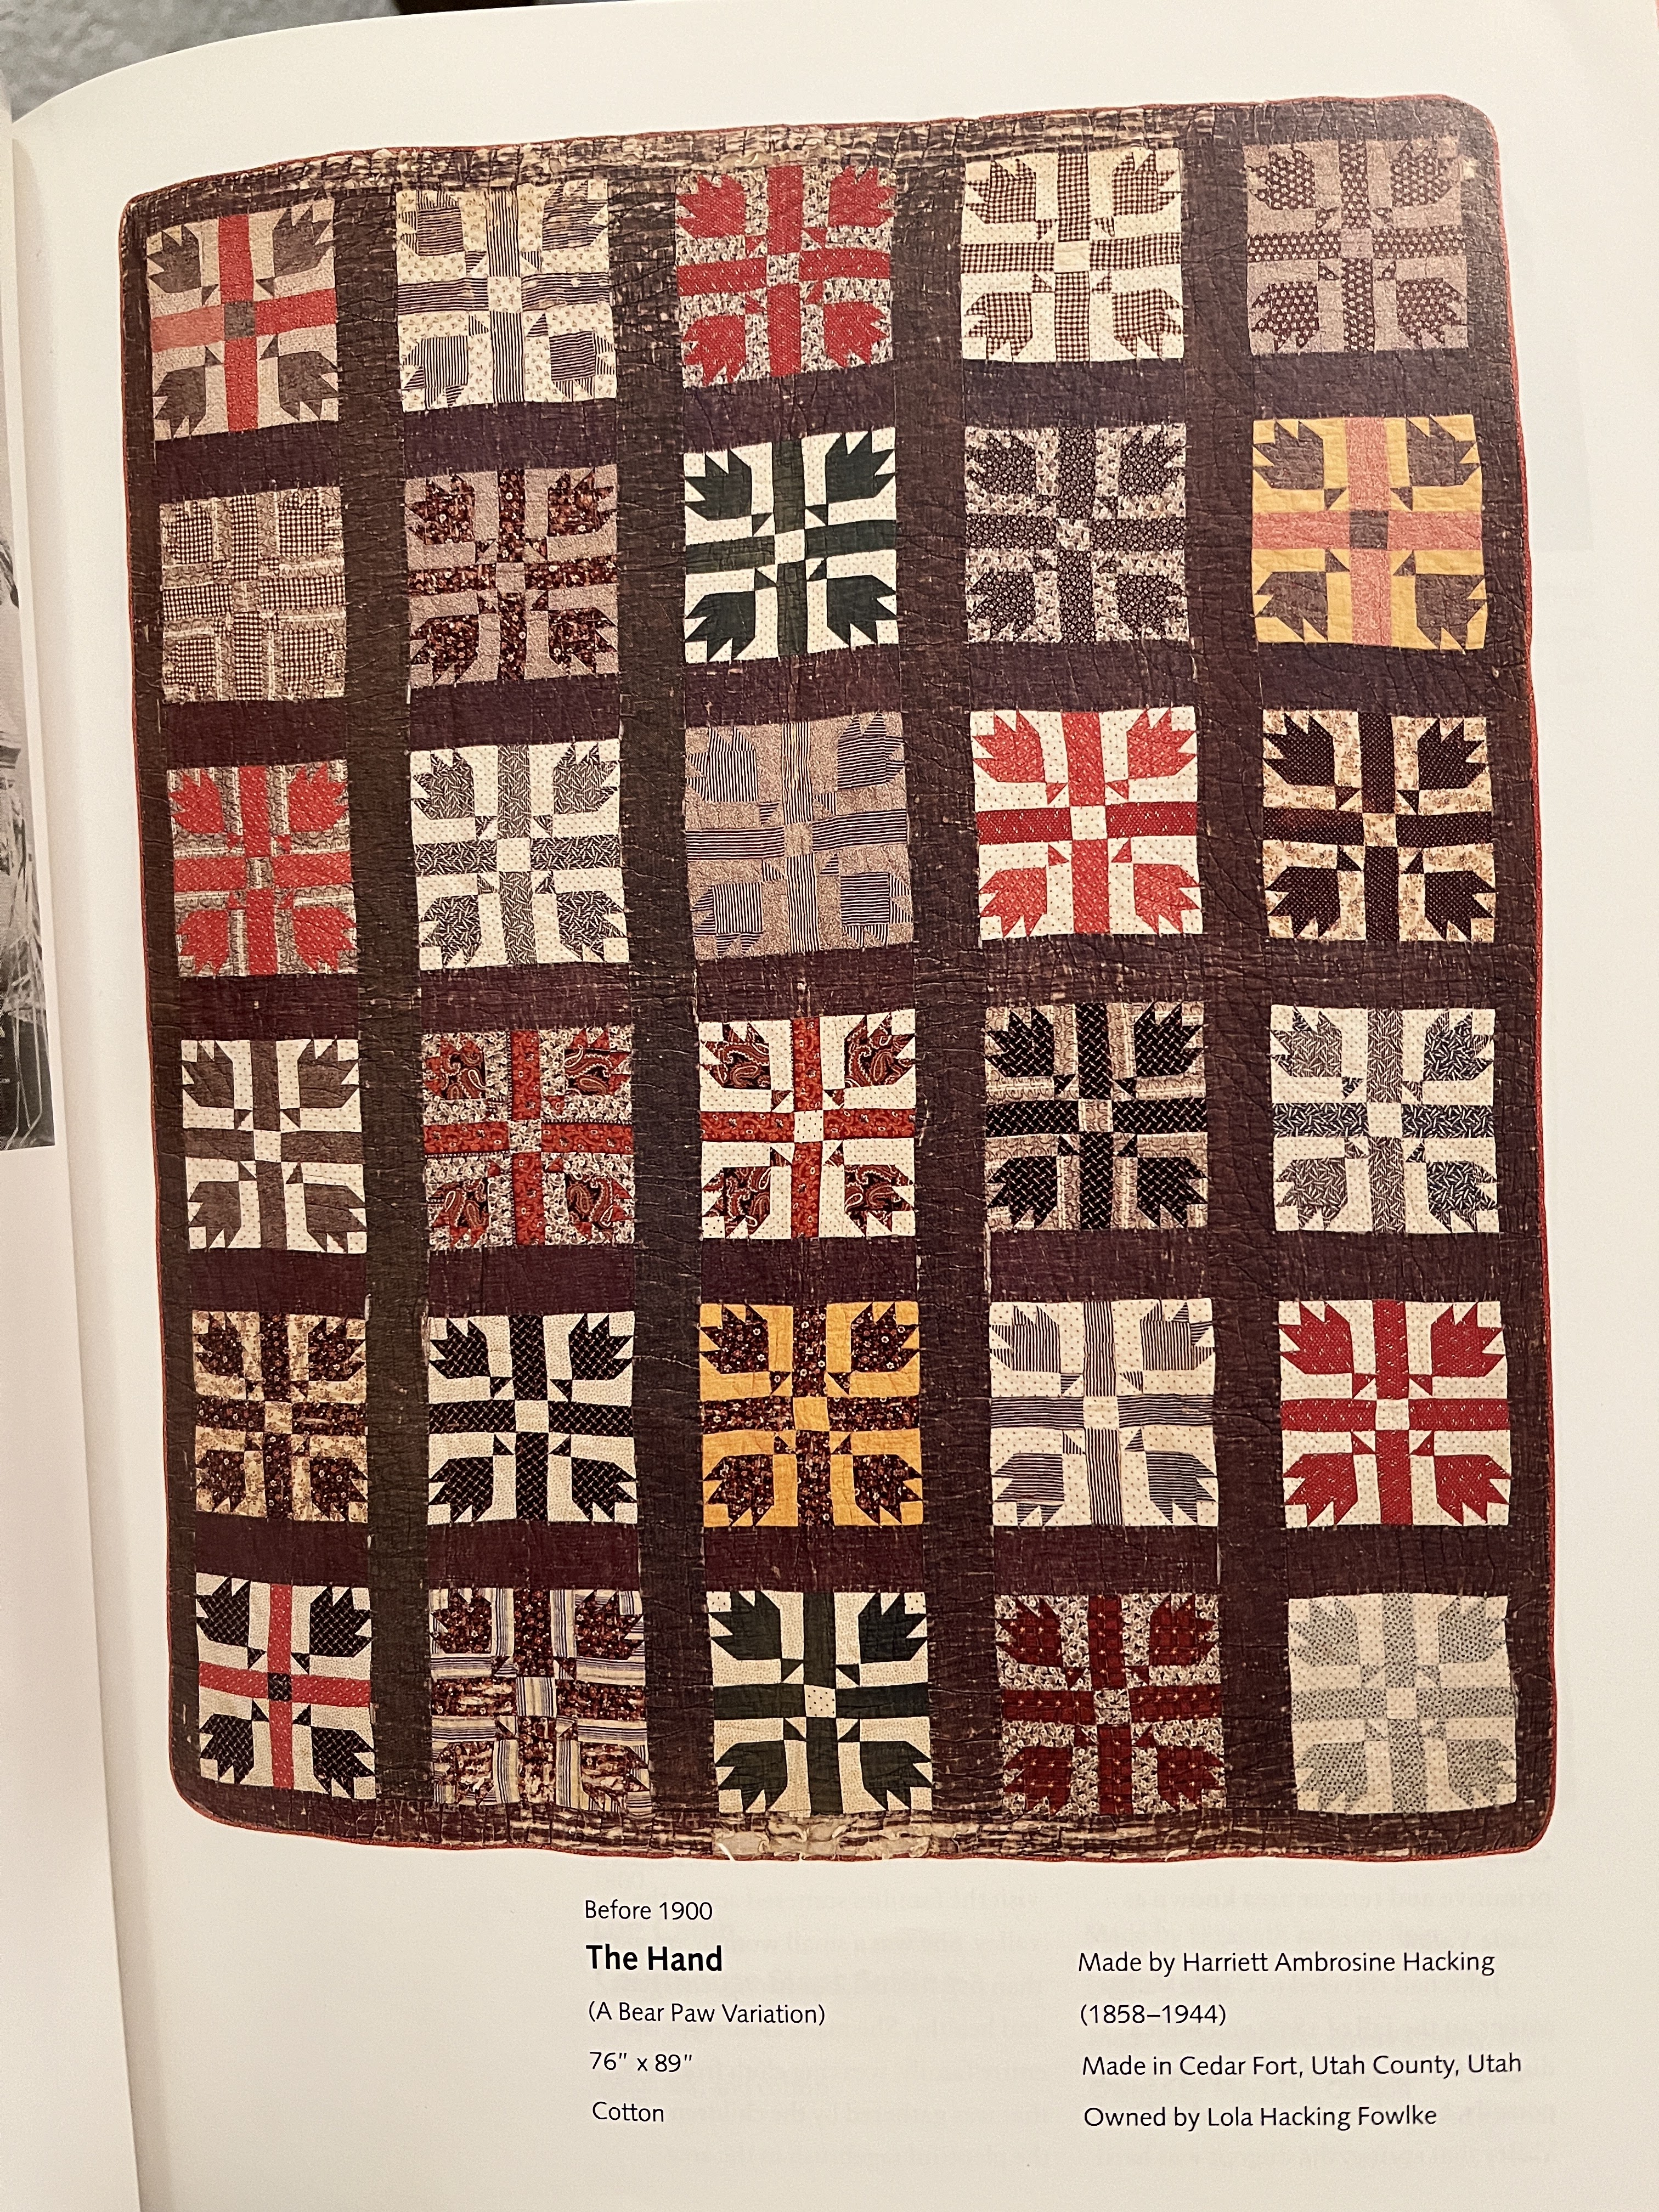
Back in 2000 I was taken with a vintage quilt in the Utah state documentation book. (p. 49)  The book called it 'The Hand'  and dated it pre-1900.

I've written a couple of blogs about this project over the years. To see the first blog written in 2012 click here.  In it you can see the vintage quilt that inspired me. I drafted the block from the photo and began making blocks borrowing color combinations (but not placement) from the original.

I made a few blocks now and then, it was not high on my list, but finally I decided to get the blocks done over a winter in Arizona. The sashing fabric I chose didn't work out. This updated blog in 2014, first top shows the completed top with blue sashing having black stars. I tried to like it, I really did, but I fnally realized I would have to take it apart. I ripped out the sashing and chose a brown print. It was a great relief. (If you like the blue better than the brown that's okay. I didn't, so it had to go.)

These photos show the brown print better and closer to the actual color than the full view above.
The top sat for another little while as I did other things and began to think about how I wanted to quilt it. That took time as you hand quilters will appreciate and tackling the basting needs a certain mindset.

           THE TOP                                               


                   PIN-BASTING (ala Harriet Hargrave) 


I finally decided to do alternating diagonal lines in the pieced blocks about 1" apart and a diagonal grid in the sashing, a bit smaller than 1", a classic simple approach. The border was done in a 1.75" diagonal grid.


sorry about this....not focus, bad color... but shows the quilting.


Strippy Backing

So that's why it took a number of years to finish. I hesitate to make the label....it seems to need a lot of explaining beyond "Made 2000-2019"


I wanted to  mention, too, something about size. Plan your top  4-5" larger than what you want the finished size to be; most important if you are planning it for a certain size bed.

The finished top measured 82 x 95
After quilting it measured 80 x 93
After washing it measures 78 x 90 

I always wash completed bed quilts. I like the look after washing, I like knowing it's clean, markings are gone and I like to know the finished size.  I pre-wash all fabrics when I bring them home but I tossed in a few color catchers just to be sure -  and look what they revealed!

No colors bled into surrounding lighter fabrics but the reds and browns often have excess dye even when they've been pre-washed.

BTW, I just checked the original vintage quilt in the book. It measured 76 x 89 - very close to my finished size though it started much larger.


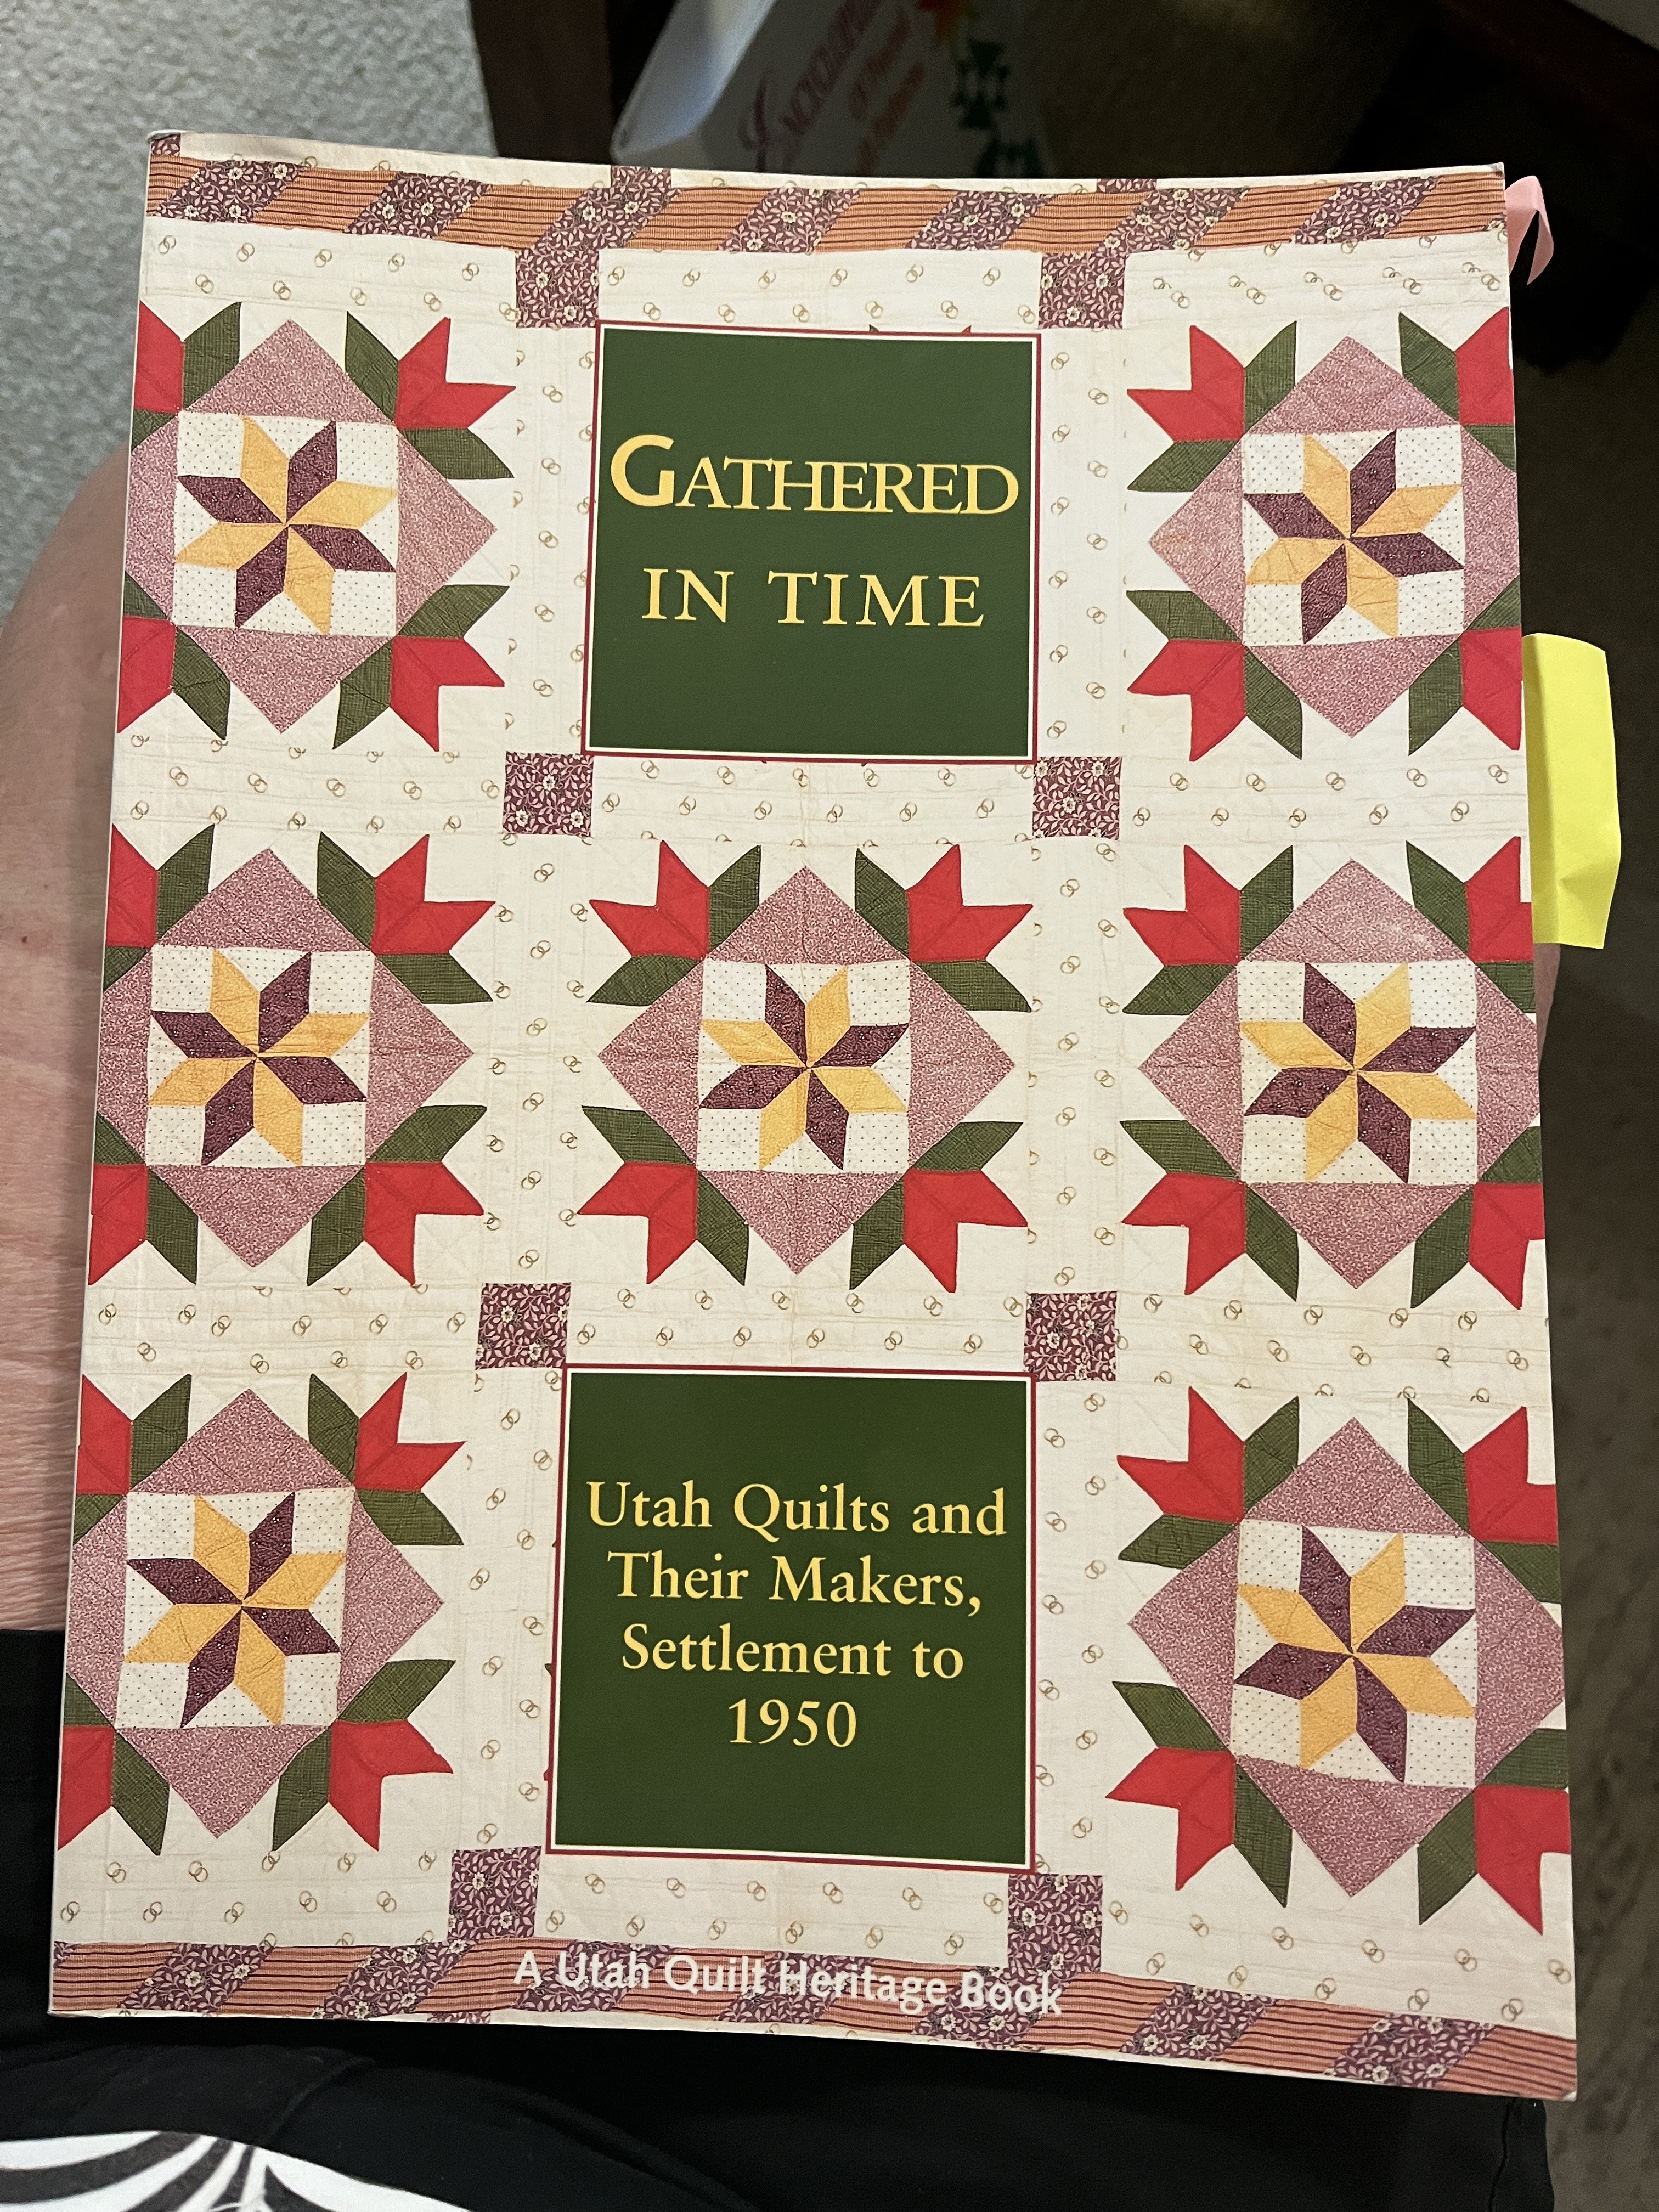
2023 update: Here is the original inspiration from the Utah quilt book Gathered in Time . the link above does not seem to work. 


Thanks for stopping by. . .
I welcome your comments


Monday, April 29, 2019

Birds & Baskets. . . and lots of berries!


43" square
 My quilt photographed on black background


About two years ago, maybe three,  I visited the Wagon West Quilt shop in Wickenburg, AZ, owned by long-time friend Martha Walker.  
Her beautiful original designs are inspired by 19th century projects.

I liked one of the samples on the wall. Big ol’ baskets, simple one piece birds, big pointy star shapes. Easy, right?
 (How did I not notice the 1” berries. . . And those amoeba shaped blobs with finger-like protrusions all around? 


So I bought the book and got started. There are four quilt patterns and three wool projects included.


I selected fabrics from my stash for everything except the stripe for the border triangles (which I think worked really well.) 


I made the templates and did needle-turn applique. 


I soon discovered that it wasn’t as simple as it first appeared, but I did get pretty good at round berries.

I looked at this close up photo and noticed I missed a quilting line!
Do you see it?


After all that handwork I decided it should be hand quilted. I outlined all the appliques then decided on a hanging diamond overall. That took more time but I think the result was worth it. From start to finish it was just under two years but I never work on just one project at a time. 


                                Here it is hanging on the wall in my entrance hall.


If you’re ever in the Phoenix area, take a drive up to Wickenburg. It’s a great western town with wonderful restaurants, a nice historical center, a cowboy museum and….the Wagon West Quilt Shop. 
Well worth the drive.


And don't forget to stop by the Prison Tree. From 1863 to 1890 prisoners were chained to this tree because they didn't have a 'hoosegow'. Escapes were unknown.  The wild wild west!
Luckily, I  was unshackled but my friend . . . 


Monday, July 28, 2014

Bunny Crib Quilt - A Success Story

I think I mentioned some time ago that I have decided to stop saying that I was not buying anymore quilts. I understand now that I am helpless in the face of a quilt I really like at really nice price.
So I happily share with you my most recent addition.


The applique is well done and the hand quilting fine. There is embroidered detail on the central rose.


How could I pass this up? Well, it didn't always look this good which is probably why I got it for $38.


OUCH! Some very large and obvious stains on that nice white background. But so CUTE. I had to take a chance.


I was anxious to see what I could do with it. Working on stains is always a multi-step process involving patience and trial and error. It is a risk and the outcome is always unknown . However, I don't believe a dirty or soiled quilt is a good thing and I kind of enjoy the challenge.

Here's what I did:

First I made a paste of water and Restoration and applied just to that area. (It ended up being more watery than pastey  because I wanted the crystals to be dissolved.)
I worked over a large white plastic bowl on the top of my washing machine. I was able to clothespin it to the edge so that it was taut and I could apply the solution to a small area and have the excess drip into the bowl to be used again. I used a small plastic measuring cup with a spout.
I  thought I could see it working right away.

I let it soak that way for awhile. Then, I rubbed a bit of my Aunt Agnes' homemade bar soap into one stain to see what happened. (This is the only thing that got my boys socks clean - you know how they wear them outside without shoes...on blacktop?) Her recipe had  lye in and and who knows what-all but I recall my Mom saving bacon grease for her to make it. She had such a supply that both my sister and I still have some bars and she passed away in 1981!!
So back to my project.
I gingerly rubbed the yellowed bar on the stains and quickly manipulated the fabric by hand to rub it in all the way. Dilute with more water....
I was excited that even while still wet the stains were getting much lighter.
Okay. Here's the scary part. I put a TINY bit of bleach in a cup of water. I mean about 1/4 teaspoon. VERY diluted. I was careful to direct it onto the stains and avoided colored fabrics - AND  I have pure clean water at the ready to pour through it almost immediately.

My supplies
After all of this attention to detail I immersed the whole quilt into the washing machine with a 'friendly' soap I get at Whole Foods with no brighteners, bleaches etc. I let it sit in the suds without agitation for a bit  then set it for 'hand wash'.
I put it in the dryer on low with a couple of dry,white towels to help fill the dryer and cushion the quilt as it cycles around. I opened the dryer at 10 minutes and took it out while still damp.
Voila.... I laid it on a white sheet on the floor to finish drying and manipulated it gently to square it up. When dry, the quilting really showed nicely and I felt I"d improved it greatly.

It reminds me a little bit of another cute appliqued crib quilt in my collection, one I also washed:


This is a little pillow cover - The bottom white piece would tuck in and be whip stitched after inserting the pillow. The maker simplified and reduced the size of the posy.


Have you washed a vintage quilt?


Friday, October 12, 2012

What I learned.....or Confessions of a Quilt Collector

I was planning to share some things I learned at the AQSG seminar in this post but I was overwhelmed...there is just so MUCH!
I will still do that and hopefully soon while the event is fresh in my mind - but for now I decided to tell you what I learned on the way TO the seminar.

I learned that I have to stop saying I'm not collecting quilts anymore.

I ended up with three new (old) pieces before we even arrived. Well, what do you expect on a road trip with two quilt loving friends - about 450 miles to cover- and numerous stops (at antique stores) since one must stretch once in awhile to maintain good circulation?


This top is from what I have for some time referred to as  "MY time period" - the first quarter of the 1900's. I love the look and have a growing number of examples of both quilts and tops.
For that reason I had signed up for Virginia Gunn's study center, "Exploring Early 20th Century Quilts", so I brought it to the class and she held it up as a great example; fabrics include chambrays, indigo and cadet blues, claret (burgundy), plaids, dots, stripes etc. Each individual square is about 4" to give you the idea of scale. I'll share more about that study center later.


24" X 32"

But the funniest shopping experience happened when we made a quick stop at the Brass Armadillo in Des Moines, Iowa, to ask directions to the restaurant which I knew was nearby. We were hungry and decided we'd eat first and then come back and shop. I ran in and as the nice lady gave me directions my eyes wandered....I spotted a quilt...I couldn't resist going just a few more feet into the store.... and as I looked down a long aisle to my right this caught my eye!

I snapped it up and quickly asked if she could 'hold' it for me. I was laughing so hard by the time I got back to the car my friends didn't know what was going on. I said, "I found a quilt!" I had not been gone 5 minutes!

We did go back, of course - we HAD to now!


The tag said it was made by the daughter of the maker of a red and white Irish Chain displayed with it. It could be the work of a young person as it is crudely pieced and quilted but all such quilts are not made by children. Either way, I love red and white quilts. The close up shows a small pink and white check used with the red for the triangle units and a shirting for the 'white' block. I like the little check - would you think to do that? Was she out of the white shirting or did she just like the check?


Somewhere near Omaha  I bought this embroidered bird quilt - a  Ruby McKim design. Ruby designed a total of 22 'series quilts' between 1916 and 1937, according to Quiltkitid.com. Designs were published in newspapers; a different design each week. This quilt is from her Audubon or Bird Life series. There are 24 blocks in this quilt but some are repeated.

It's nicely hand quilted and the pieced diamonds border with angled corners really adds a nice touch, doesn't it? I'll post a full photo when I get my stand set up. My friend found this one first but she decided not to get it.... so what could I do?


So there you have it - I'm a Quilt Collector and I am having fun!


Monday, October 8, 2012

Alzheimer's Art Quilt Update


#11, 748
Donation #2
I just learned that the 2nd little bird quilt that I donated to the Alzheimer's Art Quilt Initiative will be flying to Houston this month!

It will  be one of the quilts offered for sale at the International Quilt Festival in Houston, Texas, from November 1-4, 2012.
If you are lucky enough to be attending this major event, I hope you will stop by the AAQI booth in the exhibit area (on your right as you enter the hall)


The Alzheimer's Art Quilt Initiative recently received its 12,000th donated quilt! Since the program began in 2006 it has raised more than $760,000 for research.  You can visit Alzheimer's Art Quilt Initiative for more information if you, too, would like to be part of finding a way to prevent/cure this disease.

Now I've made four little bird quilts - all measuring about 9" square; hand appliqued, embroidered and hand quilted. Here are the other three:

Donation #1
Gift to my sister
One for me!
 
 Here's a look at the original quilt which inspired these blocks - dated 1941


Coming Soon: 
What I learned at the recent AQSG Seminar in Lincoln, Nebraska