 |
| 78 x 90 |
Today I have some exciting news! I've finished a UFO that's been nineteen years in the making. (Not a typo and sadly not the oldest UFO on my list!)
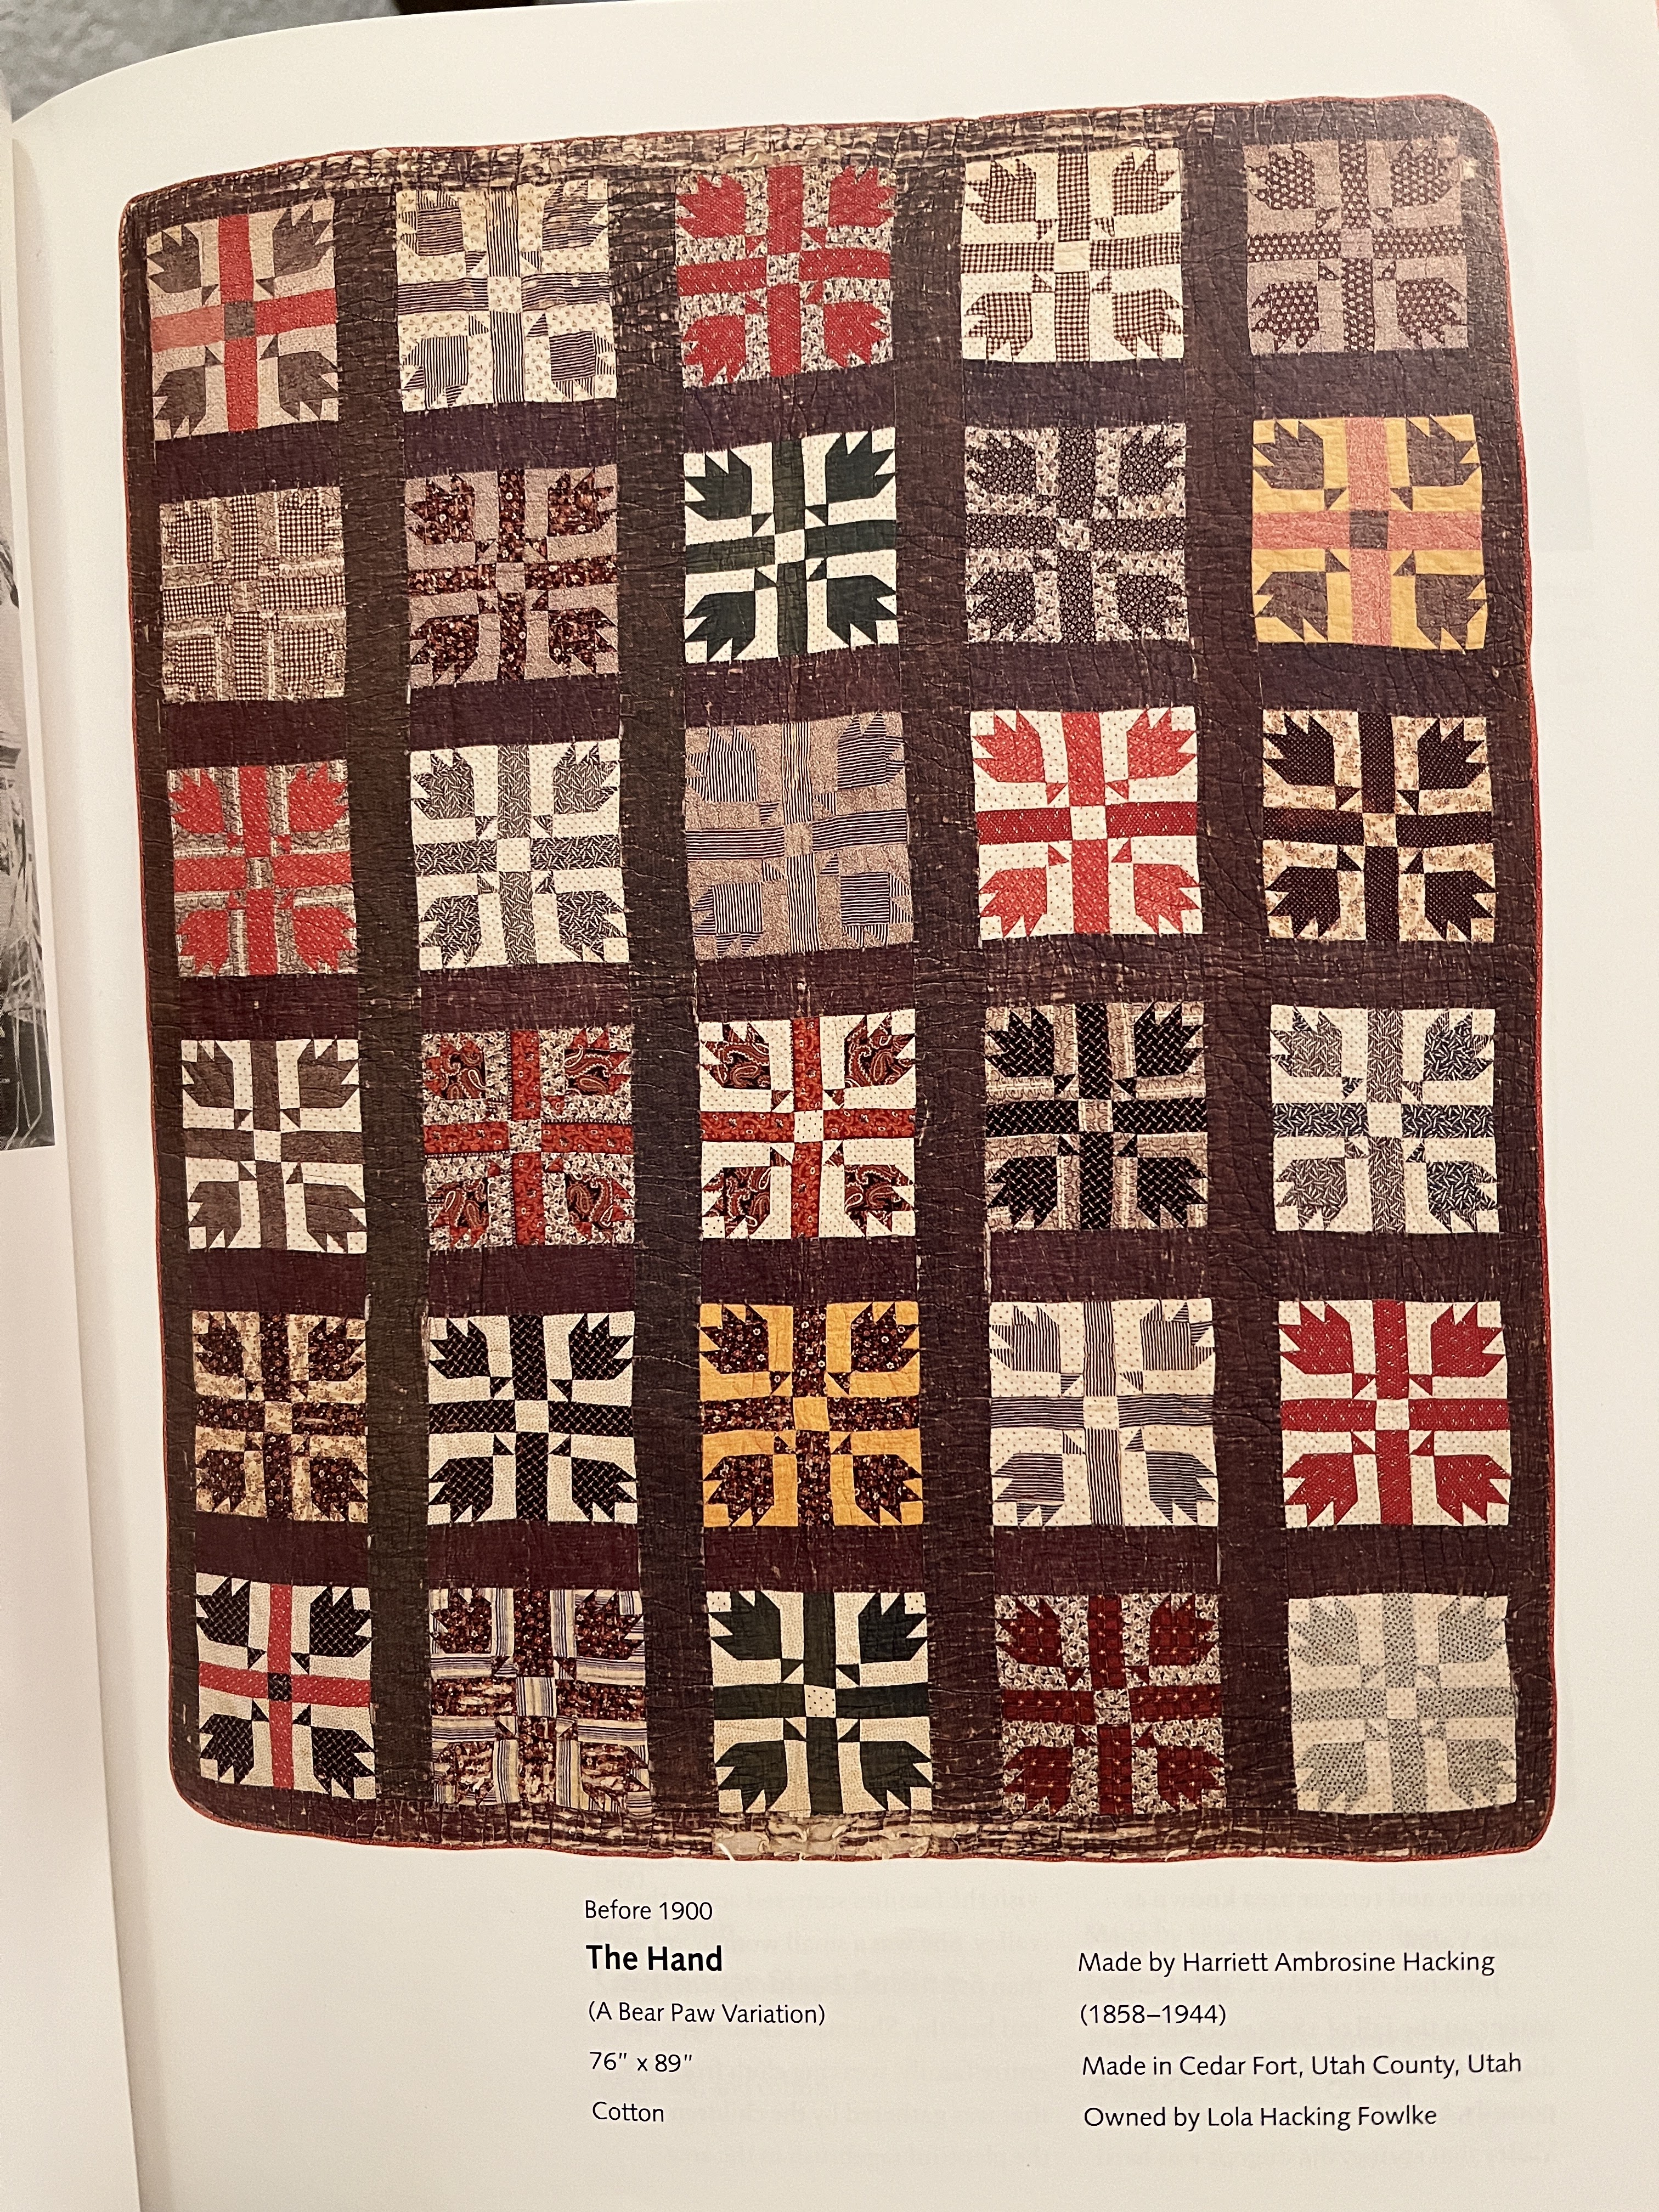
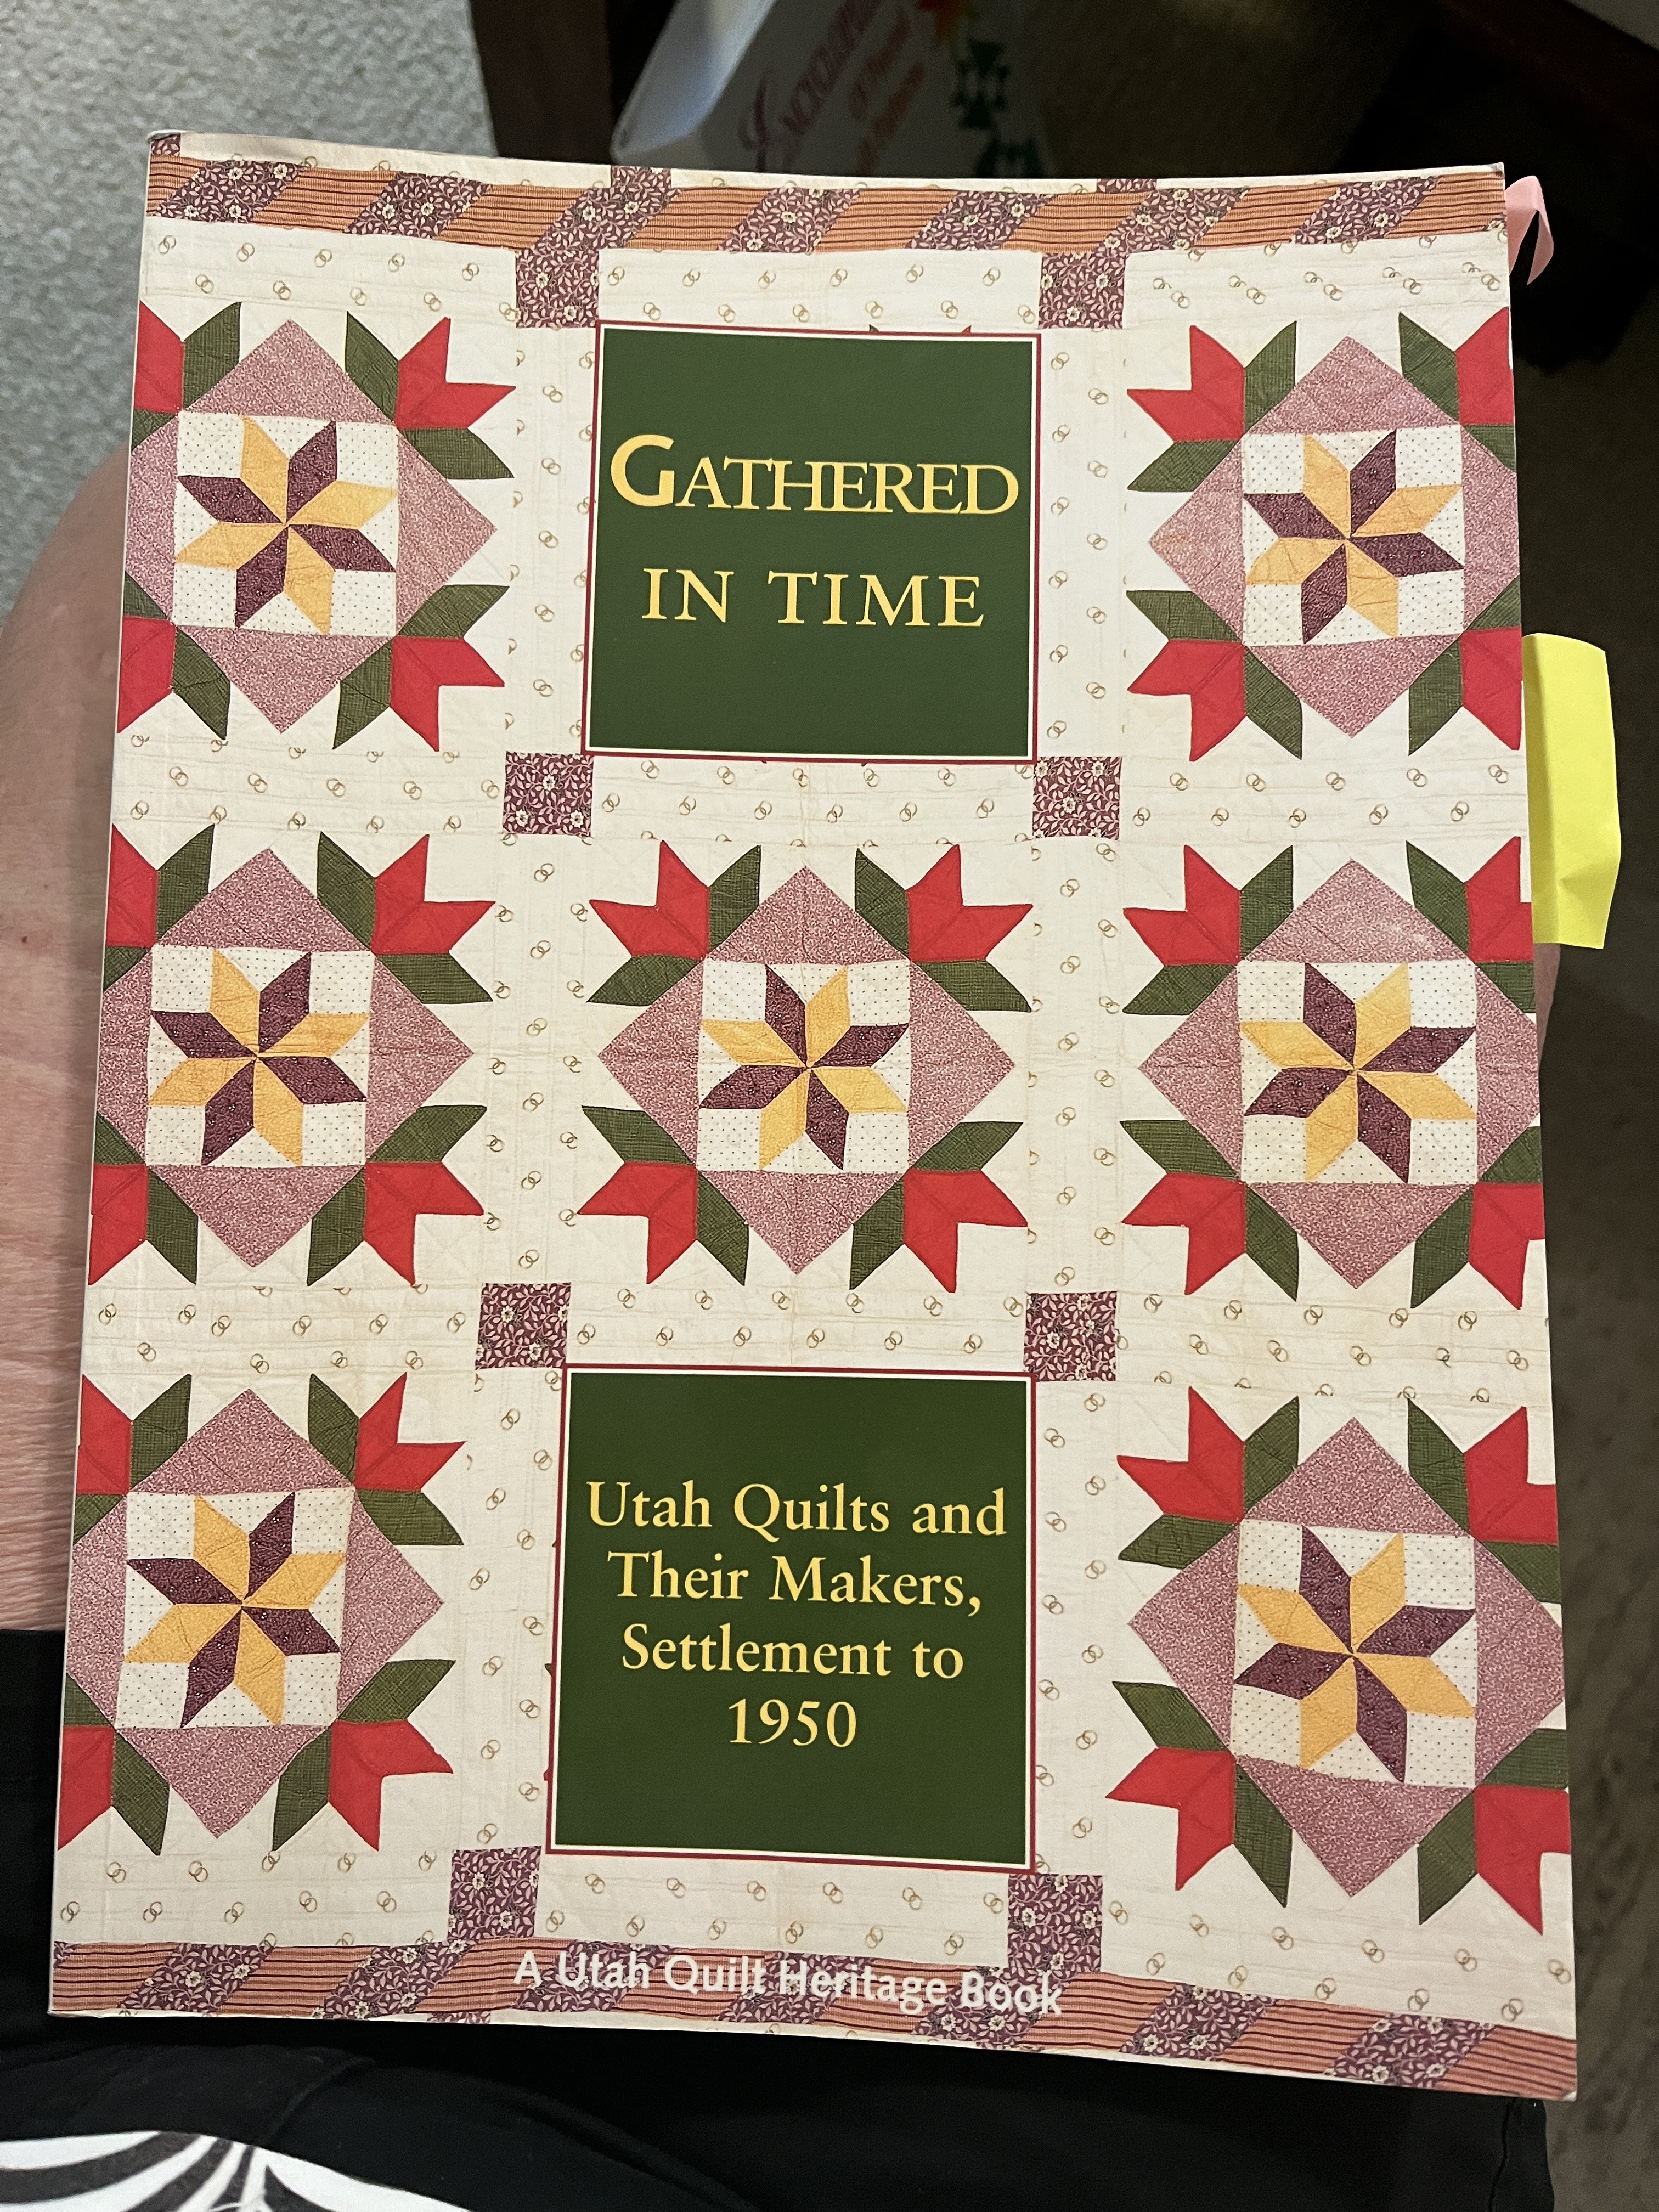
Back in 2000 I was taken with a vintage quilt in the Utah state documentation book. (p. 49) The book called it 'The Hand' and dated it pre-1900.
I've written a couple of blogs about this project over the years. To see the first blog written in 2012 click here. In it you can see the vintage quilt that inspired me. I drafted the block from the photo and began making blocks borrowing color combinations (but not placement) from the original.
I made a few blocks now and then, it was not high on my list, but finally I decided to get the blocks done over a winter in Arizona. The sashing fabric I chose didn't work out. This updated blog in 2014, first top shows the completed top with blue sashing having black stars. I tried to like it, I really did, but I fnally realized I would have to take it apart. I ripped out the sashing and chose a brown print. It was a great relief. (If you like the blue better than the brown that's okay. I didn't, so it had to go.)
These photos show the brown print better and closer to the actual color than the full view above.
The top sat for another little while as I did other things and began to think about how I wanted to quilt it. That took time as you hand quilters will appreciate and tackling the basting needs a certain mindset.
THE TOP
 . . |
PIN-BASTING (ala Harriet Hargrave)

I finally decided to do alternating diagonal lines in the pieced blocks about 1" apart and a diagonal grid in the sashing, a bit smaller than 1", a classic simple approach. The border was done in a 1.75" diagonal grid.

sorry about this....not focus, bad color... but shows the quilting.
 |
| Strippy Backing |
So that's why it took a number of years to finish. I hesitate to make the label....it seems to need a lot of explaining beyond "Made 2000-2019"
I wanted to mention, too, something about size. Plan your top 4-5" larger than what you want the finished size to be; most important if you are planning it for a certain size bed.
The finished top measured 82 x 95
After quilting it measured 80 x 93
After washing it measures 78 x 90
I always wash completed bed quilts. I like the look after washing, I like knowing it's clean, markings are gone and I like to know the finished size. I pre-wash all fabrics when I bring them home but I tossed in a few color catchers just to be sure - and look what they revealed!
 No colors bled into surrounding lighter fabrics but the reds and browns often have excess dye even when they've been pre-washed.
BTW, I just checked the original vintage quilt in the book. It measured 76 x 89 - very close to my finished size though it started much larger.
2023 update: Here is the original inspiration from the Utah quilt book Gathered in Time . the link above does not seem to work.
Thanks for stopping by. . .
I welcome your comments


